
This week is the first free chapter from my new book Old Windows In-Depth! Be sure to check out the book, which is available on pre-order in my store until the official release on May 23rd! Today, I’ll show you all about one of the more troublesome balance systems called Vinyl Jamb Liners and how to deal with them.
Not every window has the good old fashioned rope and pulley system that was the staple of window design for over a century. Window manufacturers tried to get fancy and come up with all kinds of creative options for holding sash in place. There were springs, tapes, tubes, spirals, wires and on and on.
Some of these were installed as original balance systems and some are the result of modifications made to “modernize” old windows. I’ve posted about How To Work With Spiral Balances previously and you can read that here if you need help with those. When it comes to jamb liners, there are two kinds (vinyl and metal) and the ones I find most frequently are the vinyl kind that were popular in 80s and 90s.
Of these vinyl jamb liners, there are also many versions and brands. While it’s not feasible to go through the intricacies of each type, they are all very similar and learning to work with one will help you to work with others with only slight modifications.
How To Remove Jamb Liners & Sash
Most of the time, these jamb liners are installed with only a single nail at the top (if that) or just some caulk at the sill. So, they can be removed fairly easily, along with the sash. There are some versions that allow the sash to be tilted inward and removed that way, but let’s be honest, if you have that type, you’re probably not searching Google for a solution, which likely landed you on this page, so, we’ll skip those.
Jamb liners and the sash can be removed from the interior of the building in most cases.
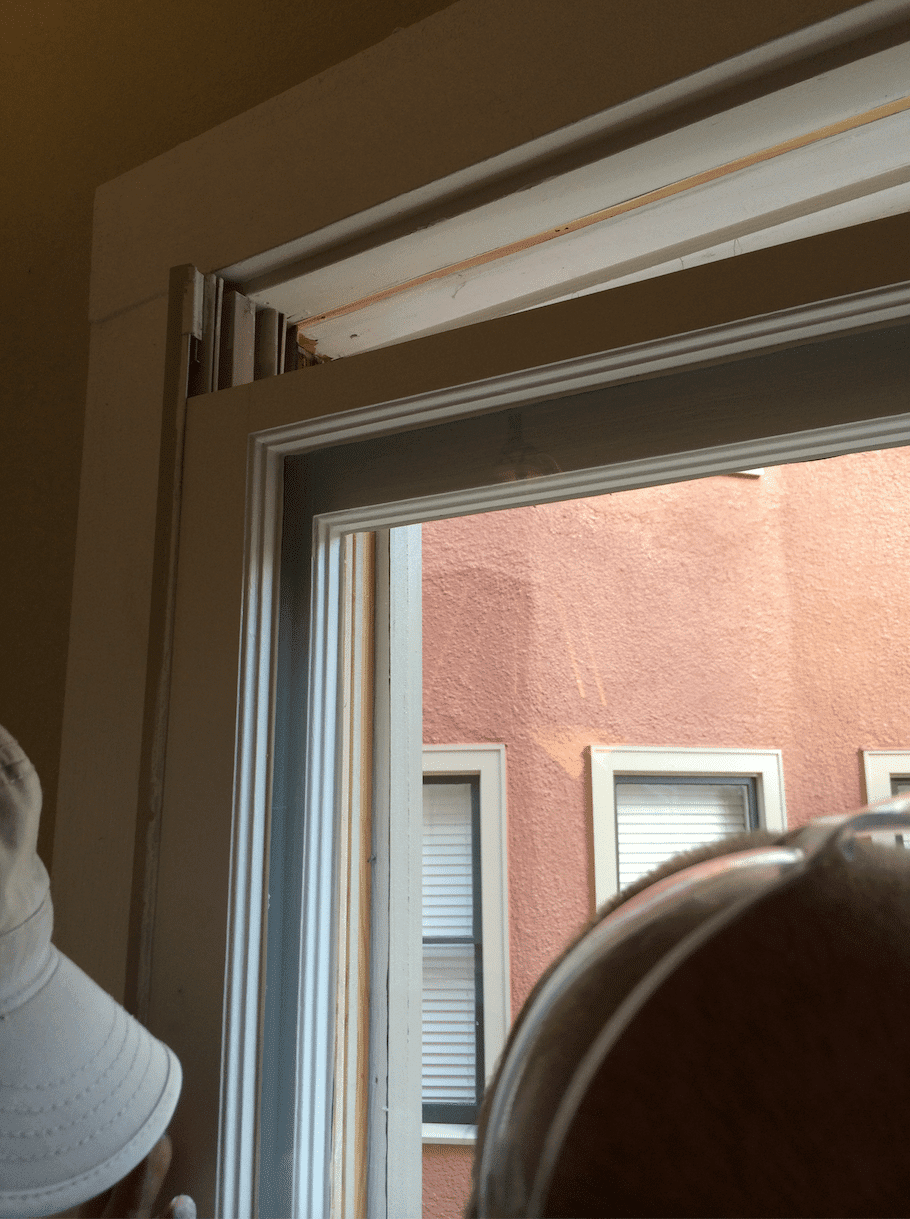
Step 1 Remove the Stops
First, you’ll want to pry off the interior stop on both sides and the top of the window. This can be accomplished by sliding a putty knife or trim pry bar between the stop and the casing and then using a hammer gently. Make pry the stop away from the jamb. Be sure to remove any nails that remain before proceeding. Save the stops and set them aside for later, because you’ll reuse them.
Step 2 Prep For Removal
Open both sash toward the top of the opening so that they are right on top of each other and you have a large opening at the bottom. Check the top and bottom of the liner on both sides to look for a nail, screw, or just some caulk to make sure it is free from the jamb itself.
You may also have to cut free the paint lines between the jamb liner and the exterior trim if it has been painted over, which is often the case. Once you have freed it up on all 4 corners, you are ready for removal.
Step 3 Remove Sash & Jamb Liner
It’s time. Be sure to keep everything as one tight unit, because these liners are under spring tension and can shoot away from you if they are released without control. Bend the bottom of the jamb liner up and over the stool at the bottom of the window on one side so that it can slide toward the interior of the building.
Once you get over the stool, you should be able to slide one whole side of the unit toward the inside and bring the other side with you. It will come out as one big unit of two sash sandwiched between the two jamb liners. Once you get it out, slowly release the tension on the springs and remove the sash from the liners.

How Install Jamb Liners & Sash
The installation process is pretty much the same process you did, except in reverse, but I’ll walk through it briefly, because there are some slight differences you need to be aware of.
Step 1 Assemble the Pieces
Remember how it came out in one piece before? Well, that’s how it has to go back in. You need to have both sash lined up and sandwiched between the two jamb liners with the small catch underneath each sash and the spring tensioned. Once you have your sash sandwich assembled, then you are ready to carry it over to the opening for installation.
Step 2 Install One Side at a Time
Put the bottom of one side into the jamb resting on the sill and slide the top into place. You’ll then want to slide the top into place for the other side and, just like during removal, bend the bottom of the last corner up and over the stool so that it can be pressed in place once everything is lined up properly.
Step 3 Install Stops
Once the jamb liners are in place and you’ve tested everything to make sure it fits well, then it’s time to put the interior stops back on where they were, using a couple 18 ga. finish nails. Caul the joints of the stops and touch up the paint if you need and you’re good to go.
Replacement Parts & Tips
Now we’ve talked about how to take things apart and put them back together again, there are a few tips about repairing or replacing missing or damaged parts that might be help to you. I’ve found that one of the most helpful sources for missing parts is Strybuc. Here is a link to their parts page for jamb liners and jamb liner accessories. They usually have what I’m looking for.
There are other versions of the jamb liners that looks like a simple piece of metal (about the size of a 12d nail) that the sash rests on for support. I have not found a source for this piece, which is often broken or rusted out, but have relied mainly on bending and clipping a 12d nail and inserting it into the liner to replace the broken piece. It works great and costs only pennies!
Over time, the vinyl can get brittle or other little parts can also break or require replacement and Strybuc as well as Blaine Hardware can be great sources for what you may need.


Founder & Editor-in-Chief
I love old houses, working with my hands, and teaching others the excitment of doing it yourself! Everything is teachable if you only give it the chance.
I need help in putting a jamb and stop back in my vinyl tilt window. I saw a video on taking the jamb and stop out but I can’t find it again! I also made the mistake of not remembering how it came out! I do remember that the sides were opposite of each other (the stop on left side was at the top and the left jamb looked inside out). The right side was smooth . I really need your help. The window won’t close now!
Any suggestions for improving the air seal on existing installations of vinyl jamb liners with “new” sashes in original frames?
What material is the Jamb Liner? Can I use weathering resistant steel, like this.
http://www.sellsteels.com/steel-plate/A588M.html to make a littile sculpture myself. Looking forward to your answer.