
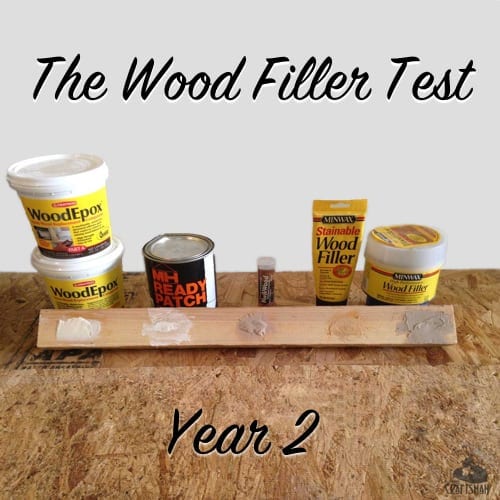
 It’s that time again! Time to check the results on my wood filler and epoxy test and see how five of the most popular wood repair products are doing after 2 full years of exposure to the harsh Florida weather.
Every year, I detail how these popular wood fillers and epoxies are doing to help you find better choices in what to use to patch and repair wood. The five products I tested here are Abatron WoodEpox, MH Ready Patch, JB Weld KwikWood, Minwax Wood Filler, Minwax High Performance Wood Filler.
The Test Conditions
To make this test as scientific as possible, I’ve outlined the rules and conditions below.
I drilled out a 1/2″ deep hole with rough edges to try to simulate a chipped or gouged board and filled the hole above the surface with filler, after which the patches were sanded level. Here are the conditions:
- The wood fillers and epoxies were all mixed and applied according to the manufacturer’s specifications.
- The wood use was a piece of 1 1/2″ thick rough sawn cypress.
- The sample was laid horizontally outside.
- The wood and fillers/epoxies received no pre-treatment, primer or paint other than WoodEpox which was used as per the manufacturer’s instructions with LiquidWood prior to application.
All the fillers and epoxies were applied and left to cure/dry until they were ready to sand smooth. I ranked the fillers in my previous post regarding ease of application, ease of sanding, and drying time.
The sample board was left outside uncovered laying horizontally. I will qualify this by saying that all of these manufacturer’s recommend that their products be primed and painted even though I have left all of them without any primer or paint.
This test will clearly show different results than if I had painted the repairs, but I decided that seeing how a product would stand up to unprotected exposure and on a horizontal surface would show results more quickly and accurately as to which product has the greatest staying power.
In this year’s post, I’ll describe the results I noticed after two years of exposure and note any changes from year one.
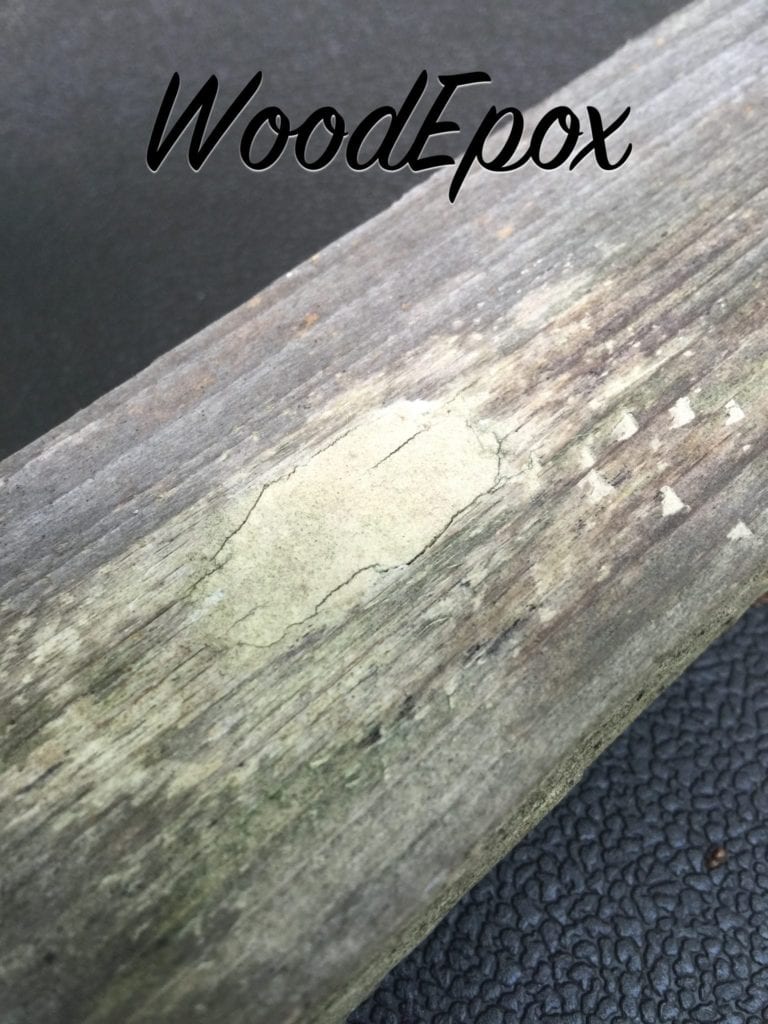
WoodEpox
Product Info: 2-part epoxy filler
Test Results: In year two, WoodEpox had minimal changes. The hairline cracks along the perimeter of the patch (the junction between wood and epoxy) continued further along the perimeter. Now the cracks are along approximately 90% of the perimeter. The algae growth has remained unchanged since year one. The patch still feels solid in the wood and shows no signs of coming loose from the wood yet.
I was surprised at the small changes between year one and year two just as much as I was surprised at the quick deterioration that occurred in year one. Overall, it feels like the deterioration has slowed. We’ll see what happens as more time has elapsed.
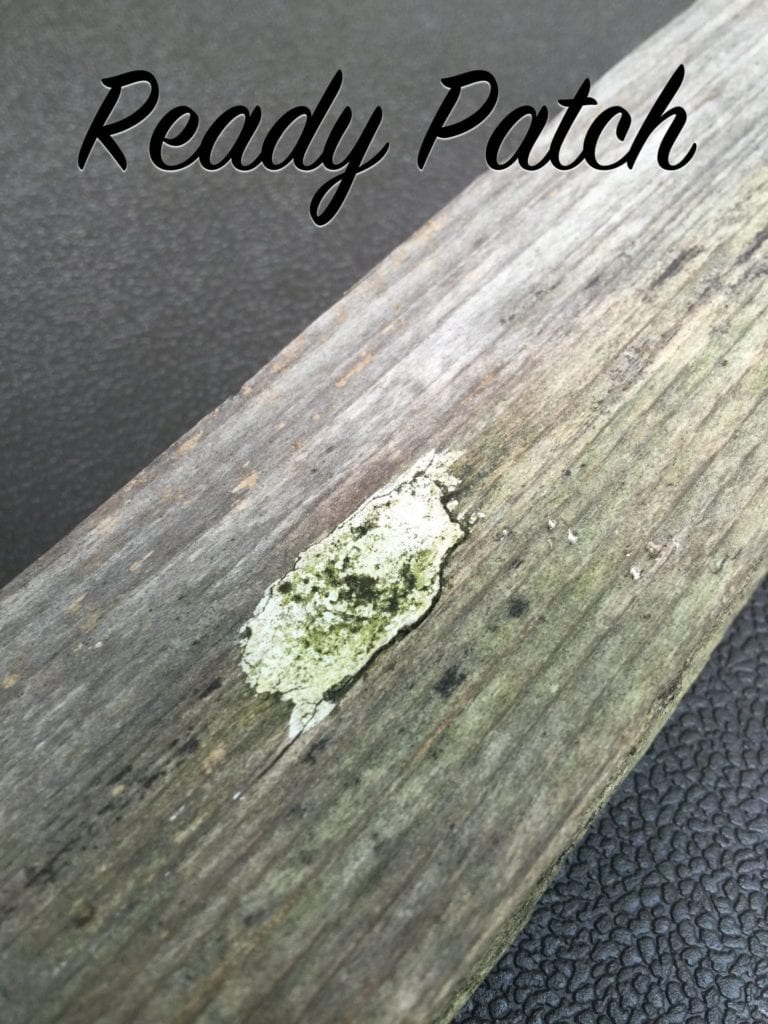
Ready Patch
Product Info: Spackling Compound
Test Results: Poor Ready Patch. The patch showed significantly more deterioration this year. The gaps at the perimeter are growing quickly and showing signs of lifting out of the wood, while the center of the patch continues to sink lower. Algae growth has definitely worsened and I am able to move the patch a little in the hole, which shows serious signs of a weakening bond.
Ready Patch has had a consistent rate of decay over the last two years, and the results have been predictable so far with little change in pace. Next year should be very interesting.
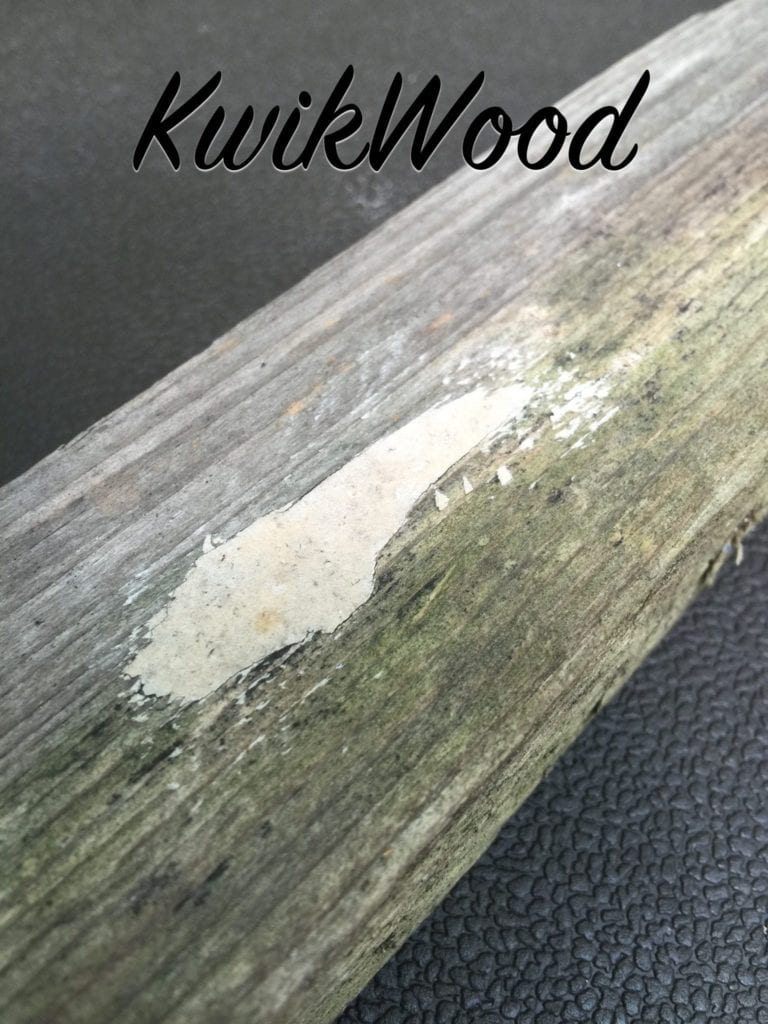
KwikWood
Product Info: 2-part epoxy filler
Test Results: There has been very little change in the KwikWood this year and the first year. The perimeter cracking has expanded a bit more to approximately 80% of the patch, but it remains very slight hairline cracks. It has remained mostly algae free compared to the other patches, but has developed just a bit of algae growth on the surface. The patch still feels solid and shows no signs of movement in the wood.
Overall, KwikWood has had the least change of any of the products I tested.
Minwax Wood Filler
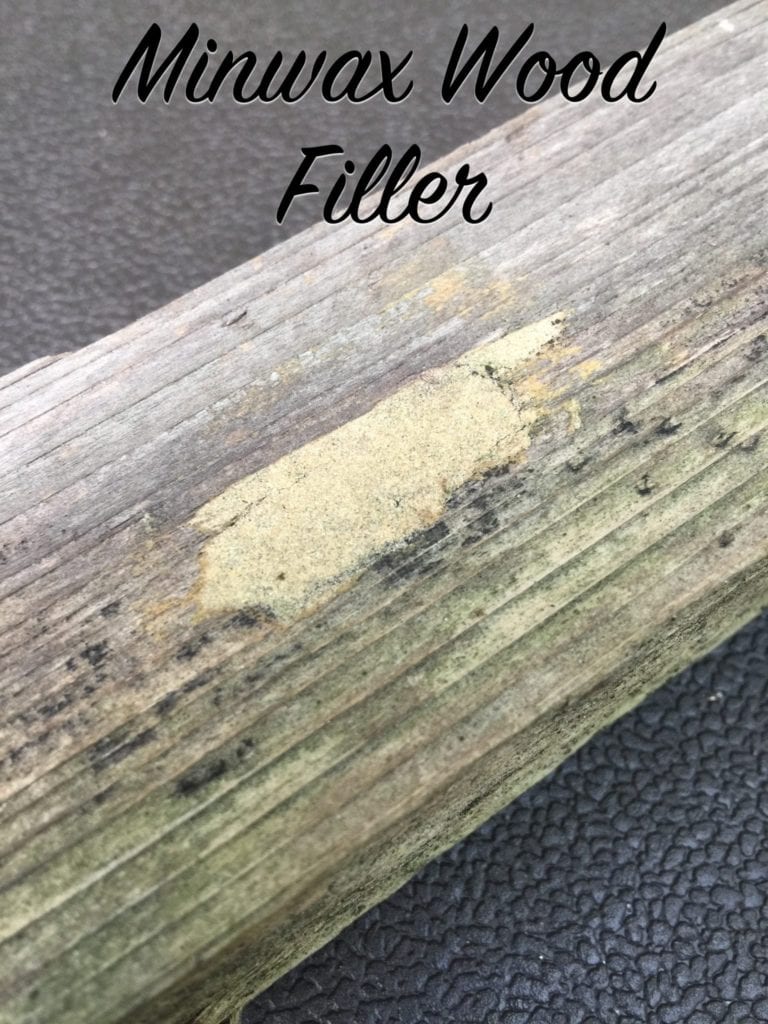
Product Info: Water-based wood filler
Test Results: I’m still shocked at how well this inexpensive wood filler has done. At year two, there is still very little wear on this product. It does show more perimeter cracks this year, adding up to about 40%. It has also developed a very slight crack about a third of the way into the filler.
The surface does show signs of a moderate amount of algae growth that is slightly less than what grows on the wood. The patch is still solidly adhered to the wood and I was unable to move it at all.
Minwax High-Performance Wood Filler
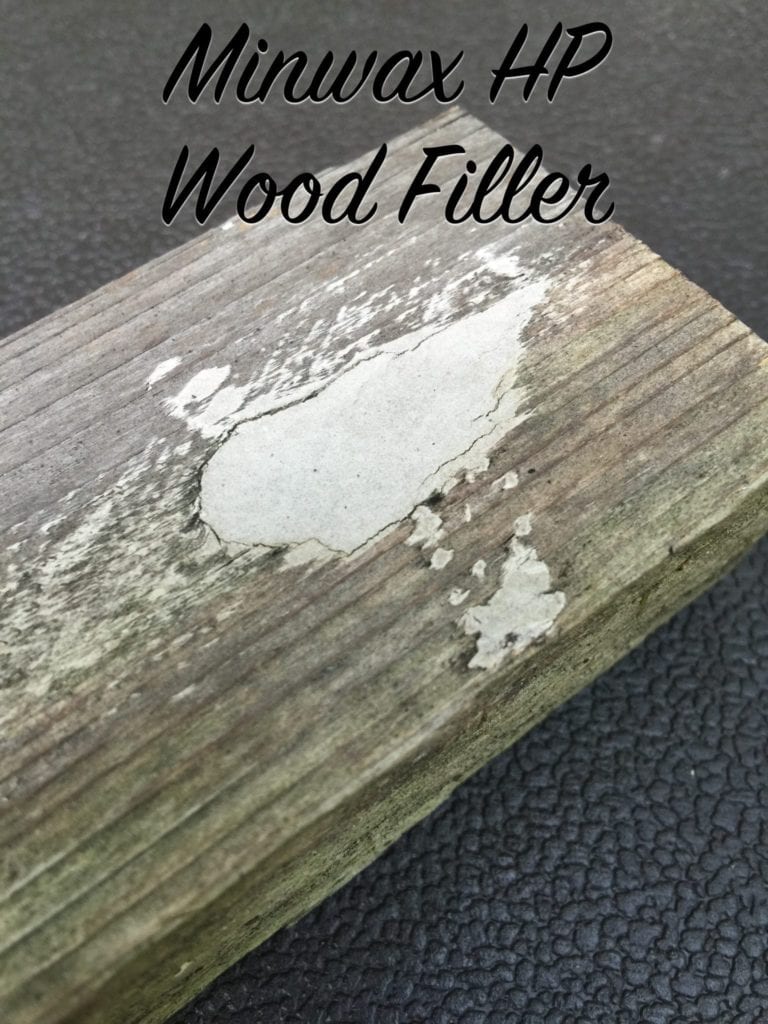
Product Info: 2-part styrene/resin filler
Test Results: This was a big surprise in year two. This patch really accelerated its rate of decay. Perimeter cracking is now at approximately 85% and it has begun to develop two cracks within the body of the patch that are larger than any of the other products. The perimeter cracks have also gotten quite large, though not nearly as large as Ready Patch.
The patch also shows minor signs of weakening its adhesion to the wood, though failure still seems a long way off, the resin is able to move slightly. On the algae front, this has been the best performer doing marginally better than KwikWood, with absolutely no algae growth on the surface.
I don’t want anyone to feel like these products are not useful as you read this post about how they are deteriorating. I am purposely putting them under extremely harsh conditions to see how and when the fail. These will all fail at some point as will any wood filler or epoxy. For me, it’s just a matter of seeing how they age and what to expect in the future.
I’d be comfortable using any of these products right now in my wood repairs, but I’ll keep testing to see what products can help you best. Stay tuned for the year three results in June 2017!


Founder & Editor-in-Chief
I love old houses, working with my hands, and teaching others the excitment of doing it yourself! Everything is teachable if you only give it the chance.
We have been using the minwax wood filler with the cream hardener you used in your test. We use the product on all our wood trim around the windows in our home. We created a beautiful craftsman trim design which required filling between the side pieces of wood and the header piece. These are two minor lines approximately 5.5 inches long. After filling twice, we sanded and painted everything with 3 coats of Behr paint. Over time, every seam has developed a crack. Some of the minwax patches have peeled completely off. The only thing we can think of is the use of a Kilz primer on top of the minwax patch caused the patch to fail. We are uncertain if this is true or not. We do use a wood stove to heat our home and considered that the expansion and contraction played a role as well.
We are on the hunt for a new filler that can do this job for us without failure. We need a strong filler that will NOT crack. It will be painted and is indoors. Do you have any thoughts for us?
I am a big fan of Abatron products and if they are going to be painted that would be my choice.
I have some pressure treated landscape ties that are cracking along the horizontal top surfaces. What filler would work best as the are quite a few, .Will the pressure treatment affect the adhesive
I filled some similarly sized holes with Bondo about 10 years ago. They were all on vertical boards, pine probably, 1913 window and door trim. Most of it’s painted, not all. (Don’t ask.) IT’s all holding up fine except for one south facing spot.
I did not know about all the other stuff then.
I don’t think this is a reasonable test unless you put a coat of paint over them.
epoxy is not good in sunlight. Needs to be painted.
Epoxy is the perfect material to make permanent repairs of rotting window sills, door jambs and exterior molding that are difficult to remove and expensive to replace.
I am using ready patch on my house for chipped paint spots. but I am Peel Stopping/Priming over the fixes…should not a primer and paint protection make the ready patch last as long as the paint?
Is this a real test in that sense? Won’t most users prime over the patch..
I think you’re on the right path.
This is very helpful. I’ve rebuilt my deck and was looking for something to fill a few imperfections on my handrails as well as spot patch my corner miters. I’ve used JB Weld products before and it looks like i’ll be using Kwikwood. Thanks for a very informative article – you’ve got a new reader.
Welcome to the tribe Doug!
This is very helpful. I’ve rebuilt my deck and was looking for something to fill a few imperfections as well as spot patch my corner miters. I’ve used JB Weld products before and it looks like i’ll be using Kwikwood. Thanks for a very informative article – you’ve got a new reader.
Scott:
Great information.
I’m wondering if there is a flexible filler product. Wood moves as moisture content changes. Something silicone or latex based? I just took up carpet and have oak floors, but lots of board gaps. I’d shy away from rigid epoxy (bound to crack as the boards move) … as will most petroleum based.
Am I way wrong? What’s your thoughts?
-Lew
Scott: Great test and excellent info in previous article. I’ve used both ready patch and abatron woodepox in the past and love them both. I now have a piece of redwood that is dinged, It is the rounded top edge of a outdoor table, and I need to fill it and have it ready for a white semi-transparent stain. The area is smaller than a dime and the depth of the dent is somewhere between a 1/16th and an 1/8th of an inch. Which product would you recommend, and is there any way to insure the patch won’t show through the semi-transparent stain?
Thanks Scott! I’m assuming all these products are suitable for cold winter months as well?
Andy, yep they should work not matter what climate. Obviously there will be some performance differences though.