
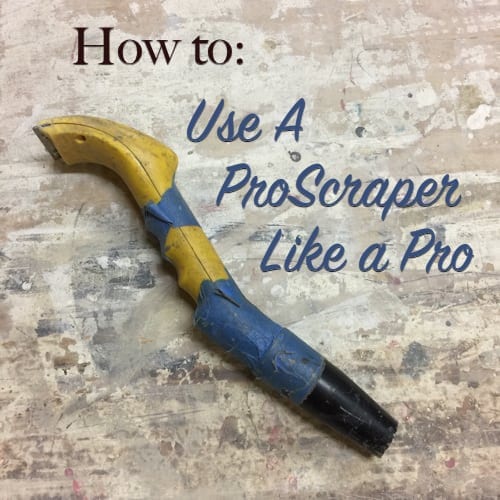
What’s the most valuable tool in my restoration arsenal? Well, it depends on the job, but most of our jobs have something to do with scraping paint, and that means I need my ProScraper. If you haven’t heard of it before, the ProScraper is a hollow-body carbide scraper that easily hooks up to a vacuum to keep your workspace clean of paint chips and lead dust.
Early on in my company, I noticed that we were using the ProScraper so much that I actually became a dealer for the product so I could get it into the hands of other restorers. It has worked wonders at keeping not only our shop floors clean from paint chips, but the air in our shop always tests well below the OSHA levels for lead exposure because we only scrape with a ProScraper attached to a HEPA vacuum.
Today, I wanted to give you a few tips and tricks to get the most out of your ProScraper and help you use it effectively.
Tip #1 Go With The Grain
When scraping wood, always go with the grain of the wood. A carbide blade is sharp enough that if you try to scrape perpendicular to the grain you will inevitably end up tearing out wood fibers and damaging the wood. Siding, windows, trim, even floors all work well with this tool as long as you are scraping along the grain and not across it.
Tip #2 Use Two Hands
In the video below, you can watch my technique for holding the ProScraper. I keep one hand on the grip and one hand with downward pressure on the head of the scraper. This allows you to have controlled pressure that you can vary, depending on the surface you are working on. Sometimes you will need to use a lot of pressure, other times it just needs a little to get the paint off. Two hands also allows you to steady the scraper and help avoid tilting, which we’ll discuss next.
Tip #3 Scrape Flat
Make sure you keep the full head of the scraper flat. If you tilt or turn the scraper, you run the risk of really digging into the wood. Keep it flat and you will get the smoothest surface possible.
Tip #4 Don’t Go All The Way
Scraping to bare wood is all fine and good if it happens easily, but don’t work yourself to death trying to get every ounce of paint off. While the ProScraper makes things easier to scrape, it is still a lot of physical labor and you don’t need to go all the way to bare wood.
The last layer of paint will likely be a beige primer coat that doesn’t come off easily with any amount of scraping since it has soaked into the pores of the wood. Scrape the built up, excess paint off to a smooth point and then sand the surface smooth. Even after sanding, it’s alright to leave a little paint on there. If it has held on this long then it is bonded well and doesn’t pose a peeling risk.
Tip #5 Check Your Blade
Even the best carbide blades eventually wear out. The more nails and other metal items you catch speeds up their demise, but eventually, you will need to reverse the blade for a fresh sharp edge. The reversibility of these blades is great because you get twice the life out of them. Once they do wear out, you can get some more in our store.
Either way, take a peak at your blade before you start scraping and if it is gouged and dull, you’ll be working twice as hard as you need too. Replacement blades are there to make the work go faster and look better and they are worth every cent. Scraping with a dull blade is like driving on a flat tire, you’ll get nowhere fast. Be sure to subscribe to our Youtube channel so you get these DIY videos as soon as they are released so you can get a head start on your latest DIY project!
If you follow all those tips, you are ready for some serious paint scraping and restoration fun. Well, maybe not fun, but it sure makes the work go much easier when you have the right tools! Pick up your own ProScraper right here.


Founder & Editor-in-Chief
I love old houses, working with my hands, and teaching others the excitment of doing it yourself! Everything is teachable if you only give it the chance.
Hi Scott! I bought a Festool CT15 after reading your review. Any chance you have a link to an adapter that would work for attaching my ProScraper? Thank you!
Nice video. Doesn’t the RRP guidance suggest wet scraping? Or does it change if you’re using a HEPA vacuum connected to the tool?
Since you do a lot of RRP work, do you have dedicated lead tools? Or do you use the same shop vac for lead/non-lead work?
If you were doing this onsite, I assume you’d still follow typical containment procedures. Do you feel like this gives you any advantages over some of the other major mechanical stripping tools?
RRP allows working with tools attached to a HEPA vac and we usually setup containment in any area we are working as well.
Any suggestions for modifying the blade to work on trim and window profiles?
I like using the Hyde contour scraper for the fragile profiles. The ProScraper does the heavy work and then the detail work needs a finer tool.
If you are using the Cobra or other IR heating method, the paint should be soft enough for the Hyde contours to do the trick.
The Bahco 625 Premium Ergonomic Carbide Scraper has carbide blades, which are much harder, and has smaller blades and a choice of round, pear shaped, and pointed profiles in addition to flat but narrower. If the paint already is pretty bad and just needs scraping, these work better, but fewer contour choices and for convex shapes one just uses narrow flat and is careful not to flatten the curve.
These too need a diamond card to sharpen. the Hyde you can use a file.
Carbide blades can be sharpened with a diamond grit sharpener, I use these https://www.dmtsharp.com/sharpeners/pocket-models/dia-sharp/