

Last week I talked about how to properly test for lead paint. While testing for lead paint is an important start, simply knowing if there is lead or not won’t do much to protect you. You need to know how to safely renovate in a house with lead paint.
I’ll cover important principles of dust control and clean up and of course give you some tips I’ve learned along the way to make the whole process much less difficult.
The Basics
The EPA calls these techniques “lead safe work practices” and they are just that. If you follow these instructions, you can ensure that everyone in the house (whether they are doing the work or not) will be safe from exposure to unsafe levels of lead.
There are 3 keys to working safely with lead paint:
- Setup & Cleanup
- PPE (Personal Protective Equipment)
- Low-Dust Work Techniques
Setup & Cleanup
Working Outdoors
Outdoor containment isn’t nearly as difficult so we’ll talk about that first. The goal here is the keep lead paint from getting into the dirt and plantings around the house that little children might be tempted to play in. You want to be able to wrap everything up and not be picking pieces of old paint out of the dirt for the rest of the day.
Setup
- Choose a relatively calm day with low wind to do exterior work.
- Lay down 6 mil plastic within a 10 foot perimeter of the area you are working.
- For extra safety place some stakes and caution tape or rope to mark off the work area and keep passersby from entering it.
- Pro Tip: Staple the plastic to a 2×4 and lay that right up against the building. This will keep the plastic from bunching up or leaving gaps right next to the building. This is where the most debris will fall so you want it covered well!
Cleanup
- Mist with water and roll up the plastic (keeping the small debris like paint chips inside it) and place it in a contractor bag or other thick walled plastic trash bag. Roll the neck of the bag into a gooseneck and tape it shut.
- Using a HEPA vacuum, clean off work surfaces and wipe them down with TSP to make sure they are free of any remaining dust.
- Dispose of the bag with normal trash. It does not need to be disposed of as hazardous waste contrary to what a lot of people think.
Working Indoors
This is where things are more complicated and you need to be more vigilant about your containment and cleanup.
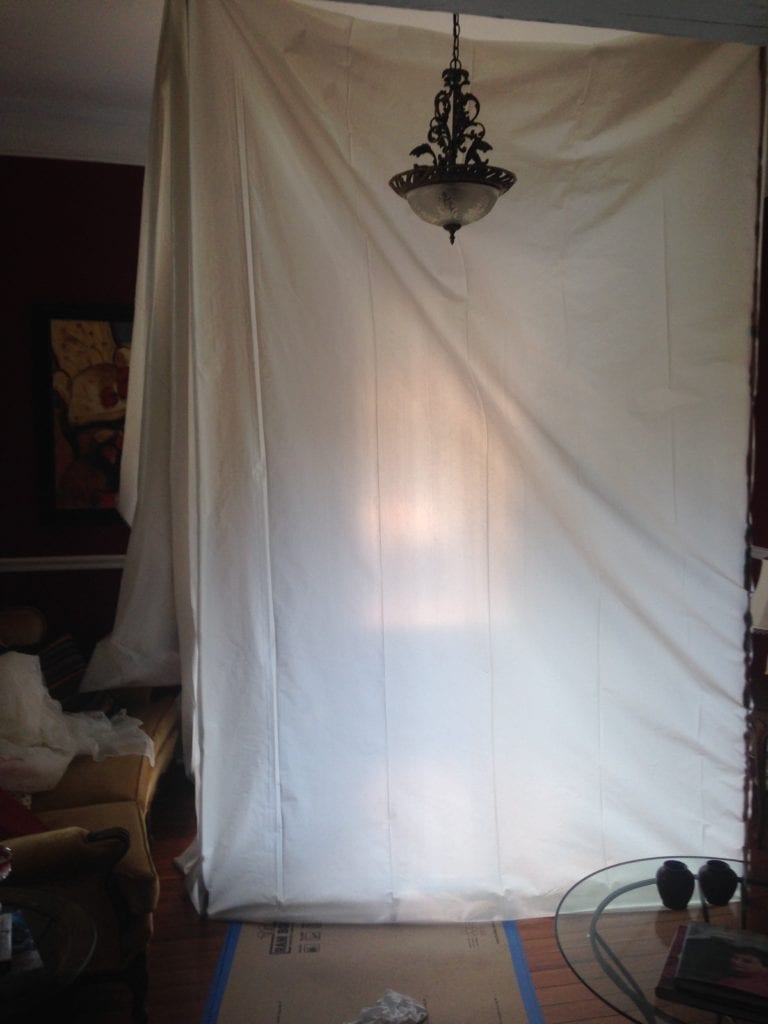
Setup
- Remove any furniture within 6 feet of your proposed work area.
- Tape down 6 mil. plastic in a 6′ perimeter around your work area to protect the floor.
- You can use painter’s tape and plastic from floor to ceiling but I prefer using a zip wall system to quickly stretch plastic from floor to ceiling. It’s much easier and unlike tape which can start falling down, the zip wall holds everything tight. You can also get zippers that attach to the plastic to create an easy access door in and out of the work area. Trust me on this, it’s worth the extra expense if you are doing more than one day’s worth of work.
- Plastic or completely tape over any HVAC vents or returns within the enclosed area and turn off the HVAC system while you are working. This may seem like overkill, but you don’t want to be circulating lead containing air around the house.
- Tape over any electrical outlets as well since dust can settle into those little crevices. It will make cleanup much easier.
- Set a damp towel on the floor just outside the entrance to the work area. This will prevent you from tracking any dust or debris out of the work area as you need to come and go.
Cleanup
It works best if you clean your way out of the work area. Start at the corner or wall and work your way out of the room.
- Once you’ve finished with all the work, mist down all the plastic, roll it up dirty side in and place it in a contractor bag or other thick walled plastic trash bag. Roll the neck of the bag into a gooseneck and tape it shut.
- Using a HEPA vacuum clean up ALL the surfaces (walls, floors, trim, etc.)
- Wipe down ALL the surfaces with a rag moistened with TSP. You may have to do this a couple times until the rag comes out clean. Think of the white glove test.
PPE (Personal Protective Equipment)
Lead safe work practices are not just about protecting the other people living in the house. You need to protect yourself since you’ll be front and center making dust and tearing things apart.
There are lots of options to keep you safe and a lot of it is personal preference, but I’ll give you the basics that you need to address before starting any project.
- Goggles or safety glasses – These aren’t specific to lead hazards, but you should protect your most vulnerable and important feature when doing any work.
- Respirator – A standard dust mask won’t cut it. You’ll need at minimum a P100 or N100 respirator. They make disposable masks you can get for about $10 on Amazon. The respirator I use is a bit more resilient and you can find it here if you’re interested.
- Coveralls – A full body suit isn’t necessary if you aren’t doing this as a career, but it can still be helpful to keep your clothes free of lead dust. If you don’t wear a suit then be sure that you wash any contaminated clothing separately and keep it away from any children.
- Shower – What’s the first thing you do when you’re done working? Take a shower and wash off thoroughly. You want any traces of lead safely washed down the drain before you do anything else.
Low-Dust Work Techniques
Last but not least, you need to work safely. Some techniques create way too much dust. Others can vaporize lead rendering your respirator worthless. Moral of the story…work safe.
Here are some major Do’s and Don’t’s when working with lead paint.
Don’t
- Use grinders, power sanders, planers, sand blasting or other abrasive power tools without a HEPA vac attachment.
- Use high-heat paint removal (torches, heat guns, electric heat plates, etc.)
- Wet surfaces when using power tools due to the risk of electrical shock.
Do
- Use HEPA vac attachments and dust collection shrouds with any power tools.
- Use low-heat infrared paint removers (Speedheater, Silent Paint Remover or similar)
- Use chemical paint strippers.
- Wet surfaces prior to using pneumatic tools or hand scraping to help control dust.
- Use steam heat for paint removal.
I do want to clarify a couple things about using heat for paint removal. Low temperatures can be safe for paint removal. Anything below about 1,000° F is generally considered safe for lead paint removal. Temperatures above that point can cause the lead to vaporize which creates an enormous health hazard.
Not to mention that using high temperature paint removal techniques can also lead to house fires. Not just in the moment, but sometimes hours later smoldering building components can finally burst into flame. In my opinion, high heat means high danger!
So that’s it! You’ve got the basics of working safely with lead paint. Just remember that this isn’t just about paint removal. You should be doing lead safe work practices anytime you renovate a house that tests positive for lead paint.
You can find more tools and protective equipment to help you work safely with lead paint in my Old House Store under the “Lead-Safe Tools” category.
Good luck and remember to work safe!


Founder & Editor-in-Chief
I love old houses, working with my hands, and teaching others the excitment of doing it yourself! Everything is teachable if you only give it the chance.
This is great information, Scott. I am lead certified because I paint lead houses in Georgia, and we are liable. But homeowners are allowed to work on their own houses without certification. It is great to have such a commonsense resource for those who want to tackle it.
Is it okay to use a power sander outdoors with a HEPA filter respirator purchased at Lowe’s? It’s the kind with a pink filter on each side. If this is a health hazard, is it okay to sand by hand but not with a power sander? Thanks!
Hi Scott! I have a house full of trim and windows with alligatored varnish finish. I tested the finish and it was positive for lead. I have small kids at home and am trying to determine the safest method for DIY removal (have priced it out and it would cost a fortune to hire out). I’m considering investing in infrared heat (Speedheater Cobra) but am finding conflicting reports about lead safety with this. Would all of the steps above be necessary when using infrared heat? Seems like most videos I’ve seen the user uses gloves/mask only or neither. I want to protect myself and my kids but I also don’t want to be taking unnecessary steps on a large project. Thank you!
The Speedheater is one of the safest methods of lead pain removal, but with it works best with think layers of paint. For alligatoring paint I would recommend the ProScraper and a HEPA Vacuum. But either way I would stick with all the practices listed here.
I have been stripping the paint off the hardware and hinges of the doors in my house. I have been using a box cutter to cut around the hard ware and paint around the screws to get the screws out before removing the hardware and boiling it in a pot of water with baking soda. My question is, does using a box cutter create dust or the potential to inhale lead dust? My house was built in the 1920s. I don’t know for sure if it has lead paint but I am assuming so
JB there is always a potential for some chips and dust but for that kind of work the volume is so low that I wouldnt be concerned about anything other than cleaning up the chips that fall.
If you are working with lead paint OUTDOORS, wouldn’t it be a good idea to take a shower inside a portable shower with a 100% capture drain?
Where can I find a shower like that? I see they have portable showers for other kinds of abatement (like for asbestos).
One last question…if it takes you more than one day to do this, can you re-use the same portable shower? Or would that put you at risk for re-contamination?
How does using portable showers work? I have googled this, and I don’t see anything about this. Are these showers made for one-time use only? That could add up! If it’s a 3 week deal, then that would be 21 portable showers!
Bear with me if I seem naive…this is all new to me..I don’t know much about how abatement industries work…
We never use portable showers. The easiest way to complete the work is to use the Tyvek suits which are either washable or disposable at the end of a shift.