Whenever the weather starts to turn cooler folks start thinking about storm windows. If you live in the northern part of the country storm windows are an important addition to any old house.
Wood storm windows fit perfectly with double-hung windows and blend in seamlessly with the historic character of your old home. There are modern aluminum alternatives with operable elements like the triple track storms that are so common, but none of them look quite as charming as traditional wood storms.
Not sure what kind of storm window you need or would work best for your house? Check out my in-depth post Guide to Storm Windows before making the decision and taking the plunge to build your own DIY storm window.
Traditional wood storm windows were made with mortise and tenon joinery, but you can also make a simplified DIY storm window with pocket-hole joinery and basic woodworking tools that I’ll teach you to make today. Watch the video tutorial below and follow these simple steps and you’ll be saving in no time!
For the best chance of success you can also download my DIY Storm Window Woodworking Plans to help you get all the right measurements and assemble your cut list. These plans lay everything out is a simple to follow format for anyone.
Here are the tools you’ll need:
- Table saw
- Circular saw or mitre saw
- Small router
- Tape measure
- Glass cutter
- Glazier’s Knife
- Chisel
- Kreg Pocket Hole Jig
- Drill/Driver
Step 1 Determine the Thickness
Storms were meant to fit on the outside of a double-hung window and rest up against the blind stop in the screen/storm rebate. They are usually between 3/4” and 1 1/8” thick depending on the thickness of your window’s exterior trim. The 3/4” version is extremely simple to make since you can use standard 1x material to make your DIY storm window.
For rebates thicker than 3/4″ you have three options I’ve listed below. You’ll have to choose one of them. All of them work equally well, it’s just up to you which one you prefer.
- Use a thicker stock wood to accommodate the size you need
- Fur out the blind stop a bit so as to leave 3/4” of an inch remaining
- Ad furring strips to the perimeter of your 3/4” screen to accommodate the extra thickness
Step 2 Measure the Opening
Measure the finished opening on the exterior trim of your window. You’ll need all the measurements below.
- Height
- Width
- Meeting Rail Height
Keep in mind that on an old house just because the height on the left side of the window is 60″ doesn’t mean the height on the right side will be the same. Take a few measurements across the window to make sure you account for out of square windows on all our measurements.
After you have your measurements you’ll want to subtract 1/4″ from the outer dimensions to give the storm the necessary tolerances to fit. For example, if your window measures 32″ x 60″ you want to make your finished storm 31 3/4″ x 59 3/4″.
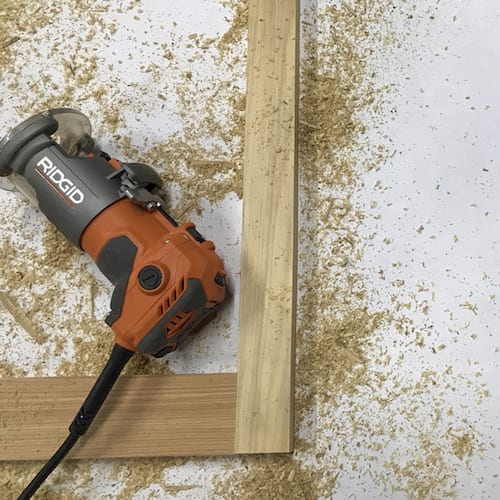
Step 3 Cut & Rip
To make things simple we’ll be using common 1x stock. Be sure to pick a rot-resistant wood that can stand up to your regional climate. You can use this post to help you pick a good species of wood.
To be efficient, I’ve narrowed the wood needed for each storm to be a single 1×4 and 1×6. The lengths you’ll need will depend on the size of your window, but the widths are the same no matter what the size of the windows.
Using our example window above of 32″ x 60″ here is your cut list below. I’ll explain the math in a moment.
- 2 stiles @ 59 3/4″ long x 1 11/16″ wide
- 1 top rail @ 30 1/16″ long x 1 11/16″ wide
- 1 meeting rail @ 30 1/16″ long x 1″ wide
- 1 bottom rail @ 30 1/16″ long x 2 9/16″ wide
The 1×4 will be your stiles (the vertical pieces of the frame) and the 1×6 will be your rails (the horizontal pieces of the frame.
- Rip the 1×4 exactly in half which, when accounting for the blade kerf, should leave you with two pieces that are 1 11/16″ wide.
- Next rip the 1×6 into three pieces of the following widths: Top rail 1 11/16″, Meeting rail 1″, Bottom rail 2 9/16″
Here’s how the math works so you can understand and make it work for your house. Your stiles are simply the total height of the window minus the 1/4″ space we need for fitting.
The rails are a little more difficult. You have to subtract the 1/4″ like with the stiles but you also have to subtract the width of the two stiles. So, here’s the math: 32″ – 1/4″ – 1 11/16″ – 1 11/16″ = 28 3/8″
That hurt my head, but that is the correct length of ALL 3 rails (top, meeting, and bottom). Got it? Good!
Step 4 Drill & Assemble
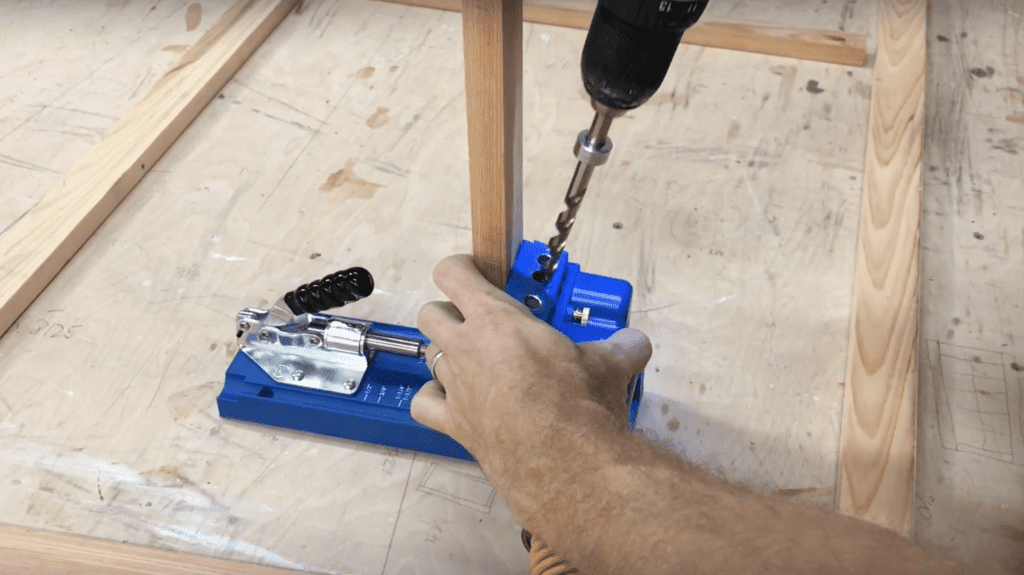
Lay out your frame and check your work. Measure and mark where your meeting rail should go and the you are ready to drill your pocket holes. For this I used a Kreg K4 pocket hole jig which was super simple. It even comes with a vacuum attachment keep the sawdust at bay (something I needed big time!)
Follow the setup instructions that come with the kit. Clamp and drill 2 pocket holes on each side of the top and bottom rails and one pocket hole on each side of the meeting rail.
Clamp the frame together and install your screws, glue in the dowels with a waterproof wood glue like Titebond III and let it dry for a couple hours. Once the glue has dried cut the dowels flush with a flush cut saw and sand everything level and smooth with 80-grit paper.
On the outside of the storm sash route the channel out of the top and bottom glass openings. You’ll be left with rounded corners which will require a chisel to square off.
Step 5 Cut Rabbets
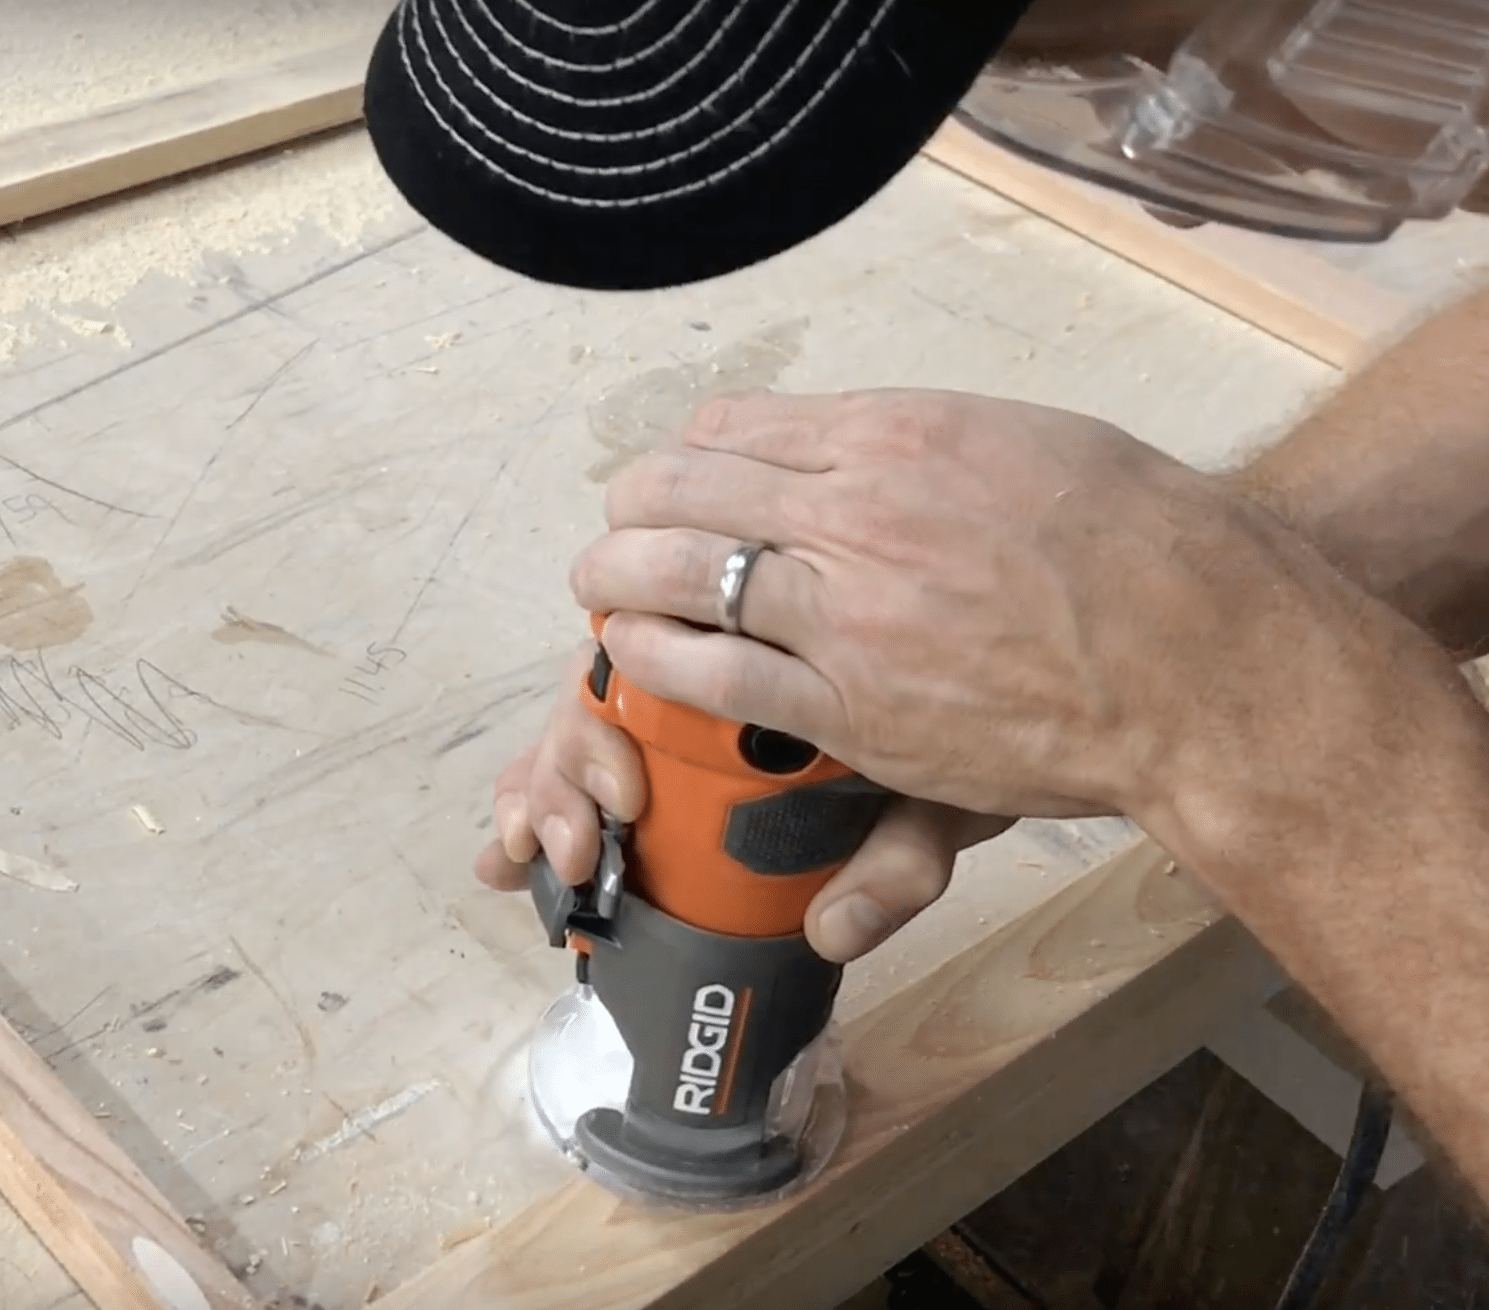
The next step is to cut the glass rabbets into your rails and stiles. These should be 1/4″ wide and 3/8″ deep rabbets. I used a Ridgid laminate router with a 1/4″ rabbeting bit. You can really make these rabbets larger if you prefer or are planning on a thicker pane of glass, but I’ve found that this size is more than sufficient for 1/8″ glass and doesn’t hog out as much wood as a larger rabbet. Make sure the bit has a bearing on the end or you’ll have to setup a guide for your router.
Step 6 Cut and Fit Glass
Cut and test fit your choice of glass. There are a ton of options for glass and you can learn more about the different options in this post. My recommendations would be to use double strength glass (1/8″) or for southern climates double strength glass with Low-E coating.
Your glass needs to be about 1/16″ smaller than the storm frame so that it has room for expansion later. You don’t want the storm to swell and break the glass.
Use this video tutorial on How To: Cut Glass if you’re not sure how.
Step 7 Prime
Then put a coat of oil-based primer on all sides of the storm. Once dry sand it lightly with a sanding sponge and dust off the surface.
Step 8 Bed, Glaze & Paint
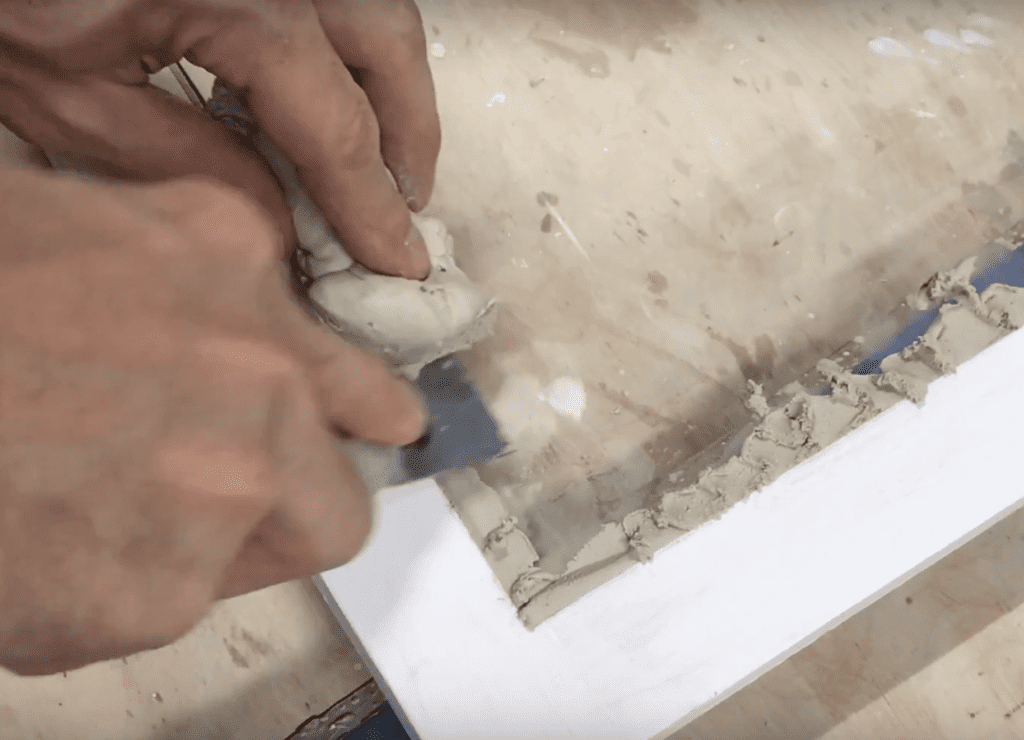
Put a thin bed of Sarco MultiGlaze putty in the glazing rabbet and press the glass into the putty so that you’re left with just a thin line of putty on the interior. Set the glass in place with glazing points. I prefer using the smaller No. 1 diamond points and a Glazing Point Driver because they hide the best, but you can also drive the larger No. 2 diamond points by hand with a hand point setter.
Add a beveled line of glazing putty on the face of the glass to finish it off. You can watch this video for the details of glazing a window if you need help. After a couple days the putty will be ready for painting your choice of color.
Step 9 Installation
Using a couple Stanley storm hangers install the storm in its opening and secure it with a hook and eye or two on the sill.
There you have it! An attractive, energy efficient storm to keep you warm and cozy this winter. Make a few a month and the energy savings will add up quick not to mention they protect the primary window from wear and tear.
The benefits of storms go on and on and now you can make your very own DIY storm window to keep the winter at bay!


Founder & Editor-in-Chief
I love old houses, working with my hands, and teaching others the excitment of doing it yourself! Everything is teachable if you only give it the chance.