A few months ago, my buddy and contributor to The Craftsman Blog, Mark Akers put together a set of plans for a DIY Adirondack Chair that he built. Ever since I posted the project I had been wanting to build a chair for myself and just been looking for the right opportunity. Today that chance came!
My family recently moved into a new house and it happens to have a rooftop deck (very bourgie, I know) but the deck absolutely called for some lounge chairs and I figured this would be the perfect opportunity. Couple that with my friends over at Cabot Stain wanting to partner with me for an exterior wood project and it seemed like kismet.
We decided to make it a little #DIYDuel on Instagram with my friends Stephen (The Wood Pastor) and Sarah (Ugly Duckling DIY) to see who could come up with the best DIY project using Cabot and Minwax Stains.
Any of you who know me know that I am a restorer by trade so woodworking is not my forté, though I can certainly handle myself around shop tools. I like simple designs that are relatively easy to make and this Adirondack chair fit the bill. If you’d like to purchase the plans for this chair you can get those right here.
Check out the video below to see the whole build and finishing process for the chair in action.
Building the Chair
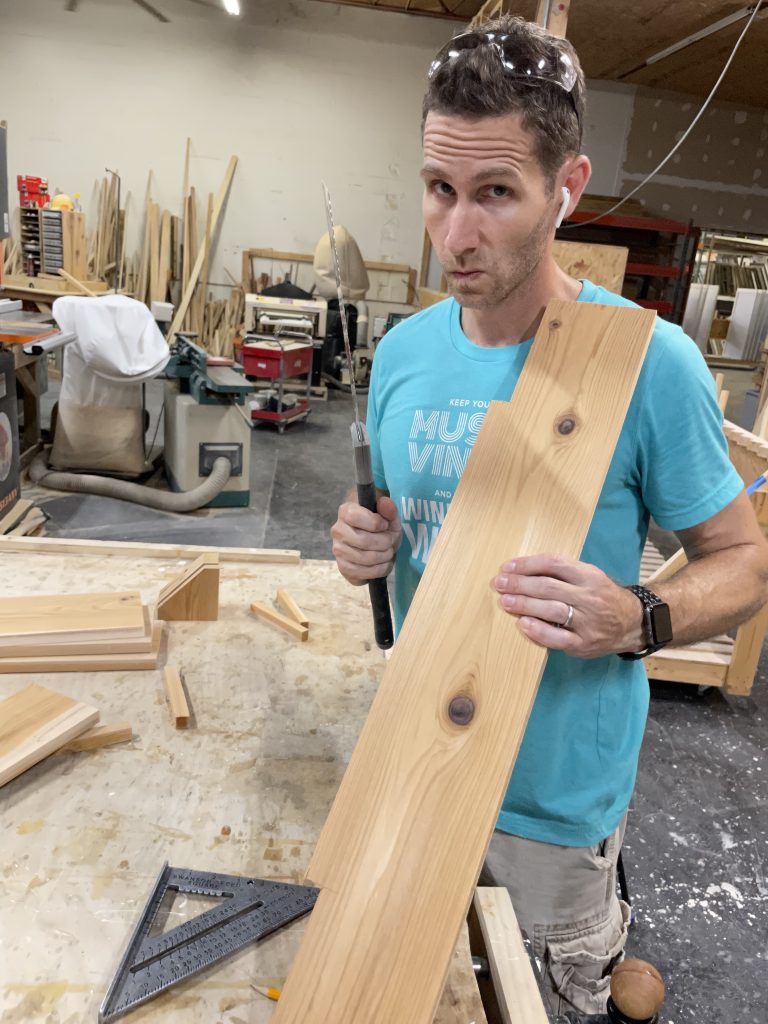
I built this chair following the plans like I was a total newbie since, after all, I wasn’t the person who wrote the plans. They called for pressure treated pine, but I wanted something a little more beautiful so I went with Western Red Cedar which is a very rot resistant wood and beautiful to boot.
Western Red Cedar is also a very light wood which meant hauling this chair up to the roof deck would be less effort than with a heavier wood. Win win.
Cedar usually comes with only one side surfaced in my area so I needed to run it through the planer a bit before it was smooth enough to be assembled into a chair. I followed the cut list and was able to use the table saw very minimally which was great. The whole build took me about 6 1/2 hrs (far faster than those slowpokes Sarah and Stephen).
After making a ton of cuts on the mitre saw I started assembling the chair using stainless steel screws, pre-drilling everything to avoid splitting the wood. Stainless fasteners allow me to prevent black streaks and stains in the future. Western Red Cedar is a tannin rich wood that can rust out other metal fasteners so stainless really is the only way to go for an exterior project.
Prepping for Stain
After the chair was built it was time to prep for stain which meant a ton of sanding. Cedar is a relatively soft wood so it can be easy to leave swirl marks from your sander. I began with 80-grit paper and carefully worked my way up to 120-grit using a random orbit sander.
I used my sander to round the edges of the wood where necessary to make it more comfortable to sit in and enjoy. You don’t want sharp edges on exterior wood furniture in my opinion because those can catch on clothing, splinter, or be just plain uncomfortable to sit in long term.
With a chair like this there are a lot of nooks and crannies that needed hand sanding and I was also careful to sand with the grain. Anywhere that swirl marks were left I made sure to hand sand those away.
When I felt like I was finished sanding I blew the dust off with compressed air and wiped the chair down with water as a check to see if there were any sanding marks that showed up. Using water or mineral spirits here is a good way to check before staining to get a quick preview of the final result.
Applying Cabot Stain
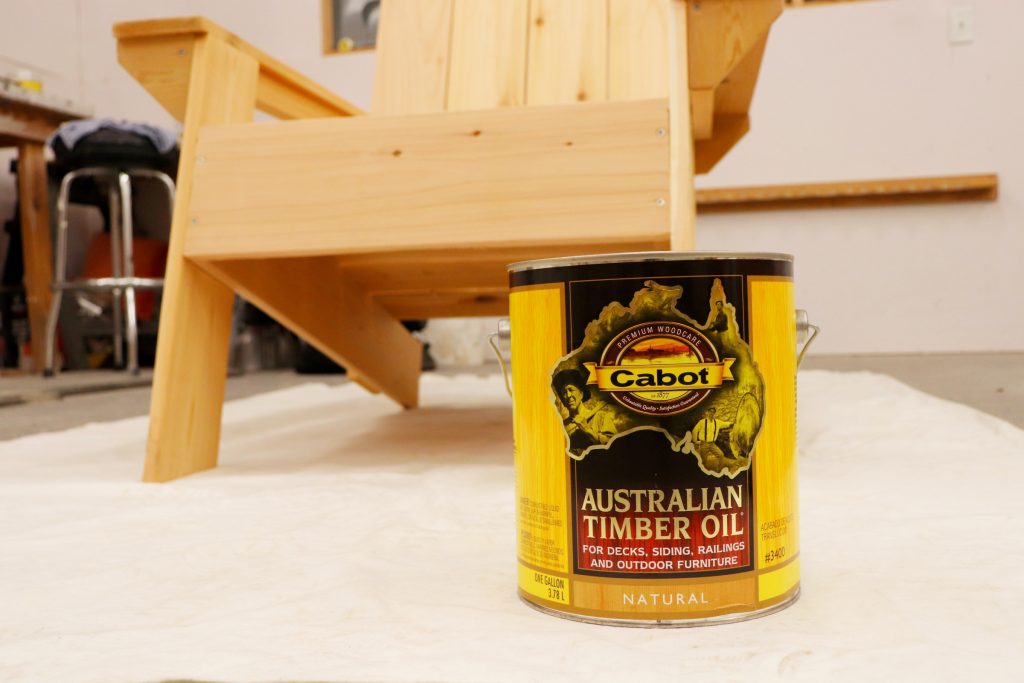
I had never used Cabot stains before so this would be a learning experience for me. From talking to their product specialists about this project they recommended I use their Australian Timber Oil. This is an oil-based stain that was designed to protect hardwood from the harsh conditions in the Australian outback. To me that sounded like it would work for Florida’s punishing summer time conditions as well.
Cabot recommends only natural applicators for their oil-based stains because they deliver the best, most even result. I was on the fence between a lambswool applicator and using one of my Black China Bristle brushes which is what I settled on because I could get better control in the tight spots of this chair. If I was doing a deck I would have opted for the lambswool for speed and efficiency.
The stain has a consistency somewhere between a typically thin wood stain and a thicker polyurethane. I made sure to mix the whole gallon thoroughly before applying anything and to give it a good stir every couple minutes to make sure the solids didn’t settle.
Quick Tip: If you’re tackling a larger project that requires more than one container make sure to mix all the containers together to ensure a consistent color throughout your project.
Lay down a drop cloth or two because you are definitely going to have some drips with this product and you want to keep your floors clear of mess.
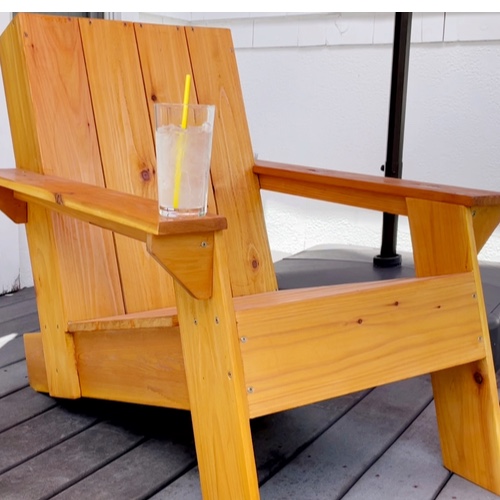
Apply your Cabot stain evenly without overlapping much and be extra vigilant in cleaning up drips because they can show through. I used their Natural color Australian Timber Oil, but they have other color options if you want to change things up. While called “Natural” it wasn’t a truly transparent stain because it definitely added some pigmentation to the wood that warmed it up nicely.
Apply that first coat and double check for drip and runs and let that puppy sit for at least 24-48 hrs. If you want a second coat you can certainly apply one, but in my case I was super satisfied with the results from only one coat.
Don’t forget that you are using an oil-based stain so clean up should include mineral spirits. If you’re not sure how to effectively clean brushes with mineral spirits check out my earlier post right here for a video of the process.
After about 8 hrs the stain still had a slightly tacky feel so I kept a fan on it and just waited. By about 36 hrs the finish was smooth and tack free. I’m sure the incredible Florida humidity slowed the drying time, but good things come to those who wait.
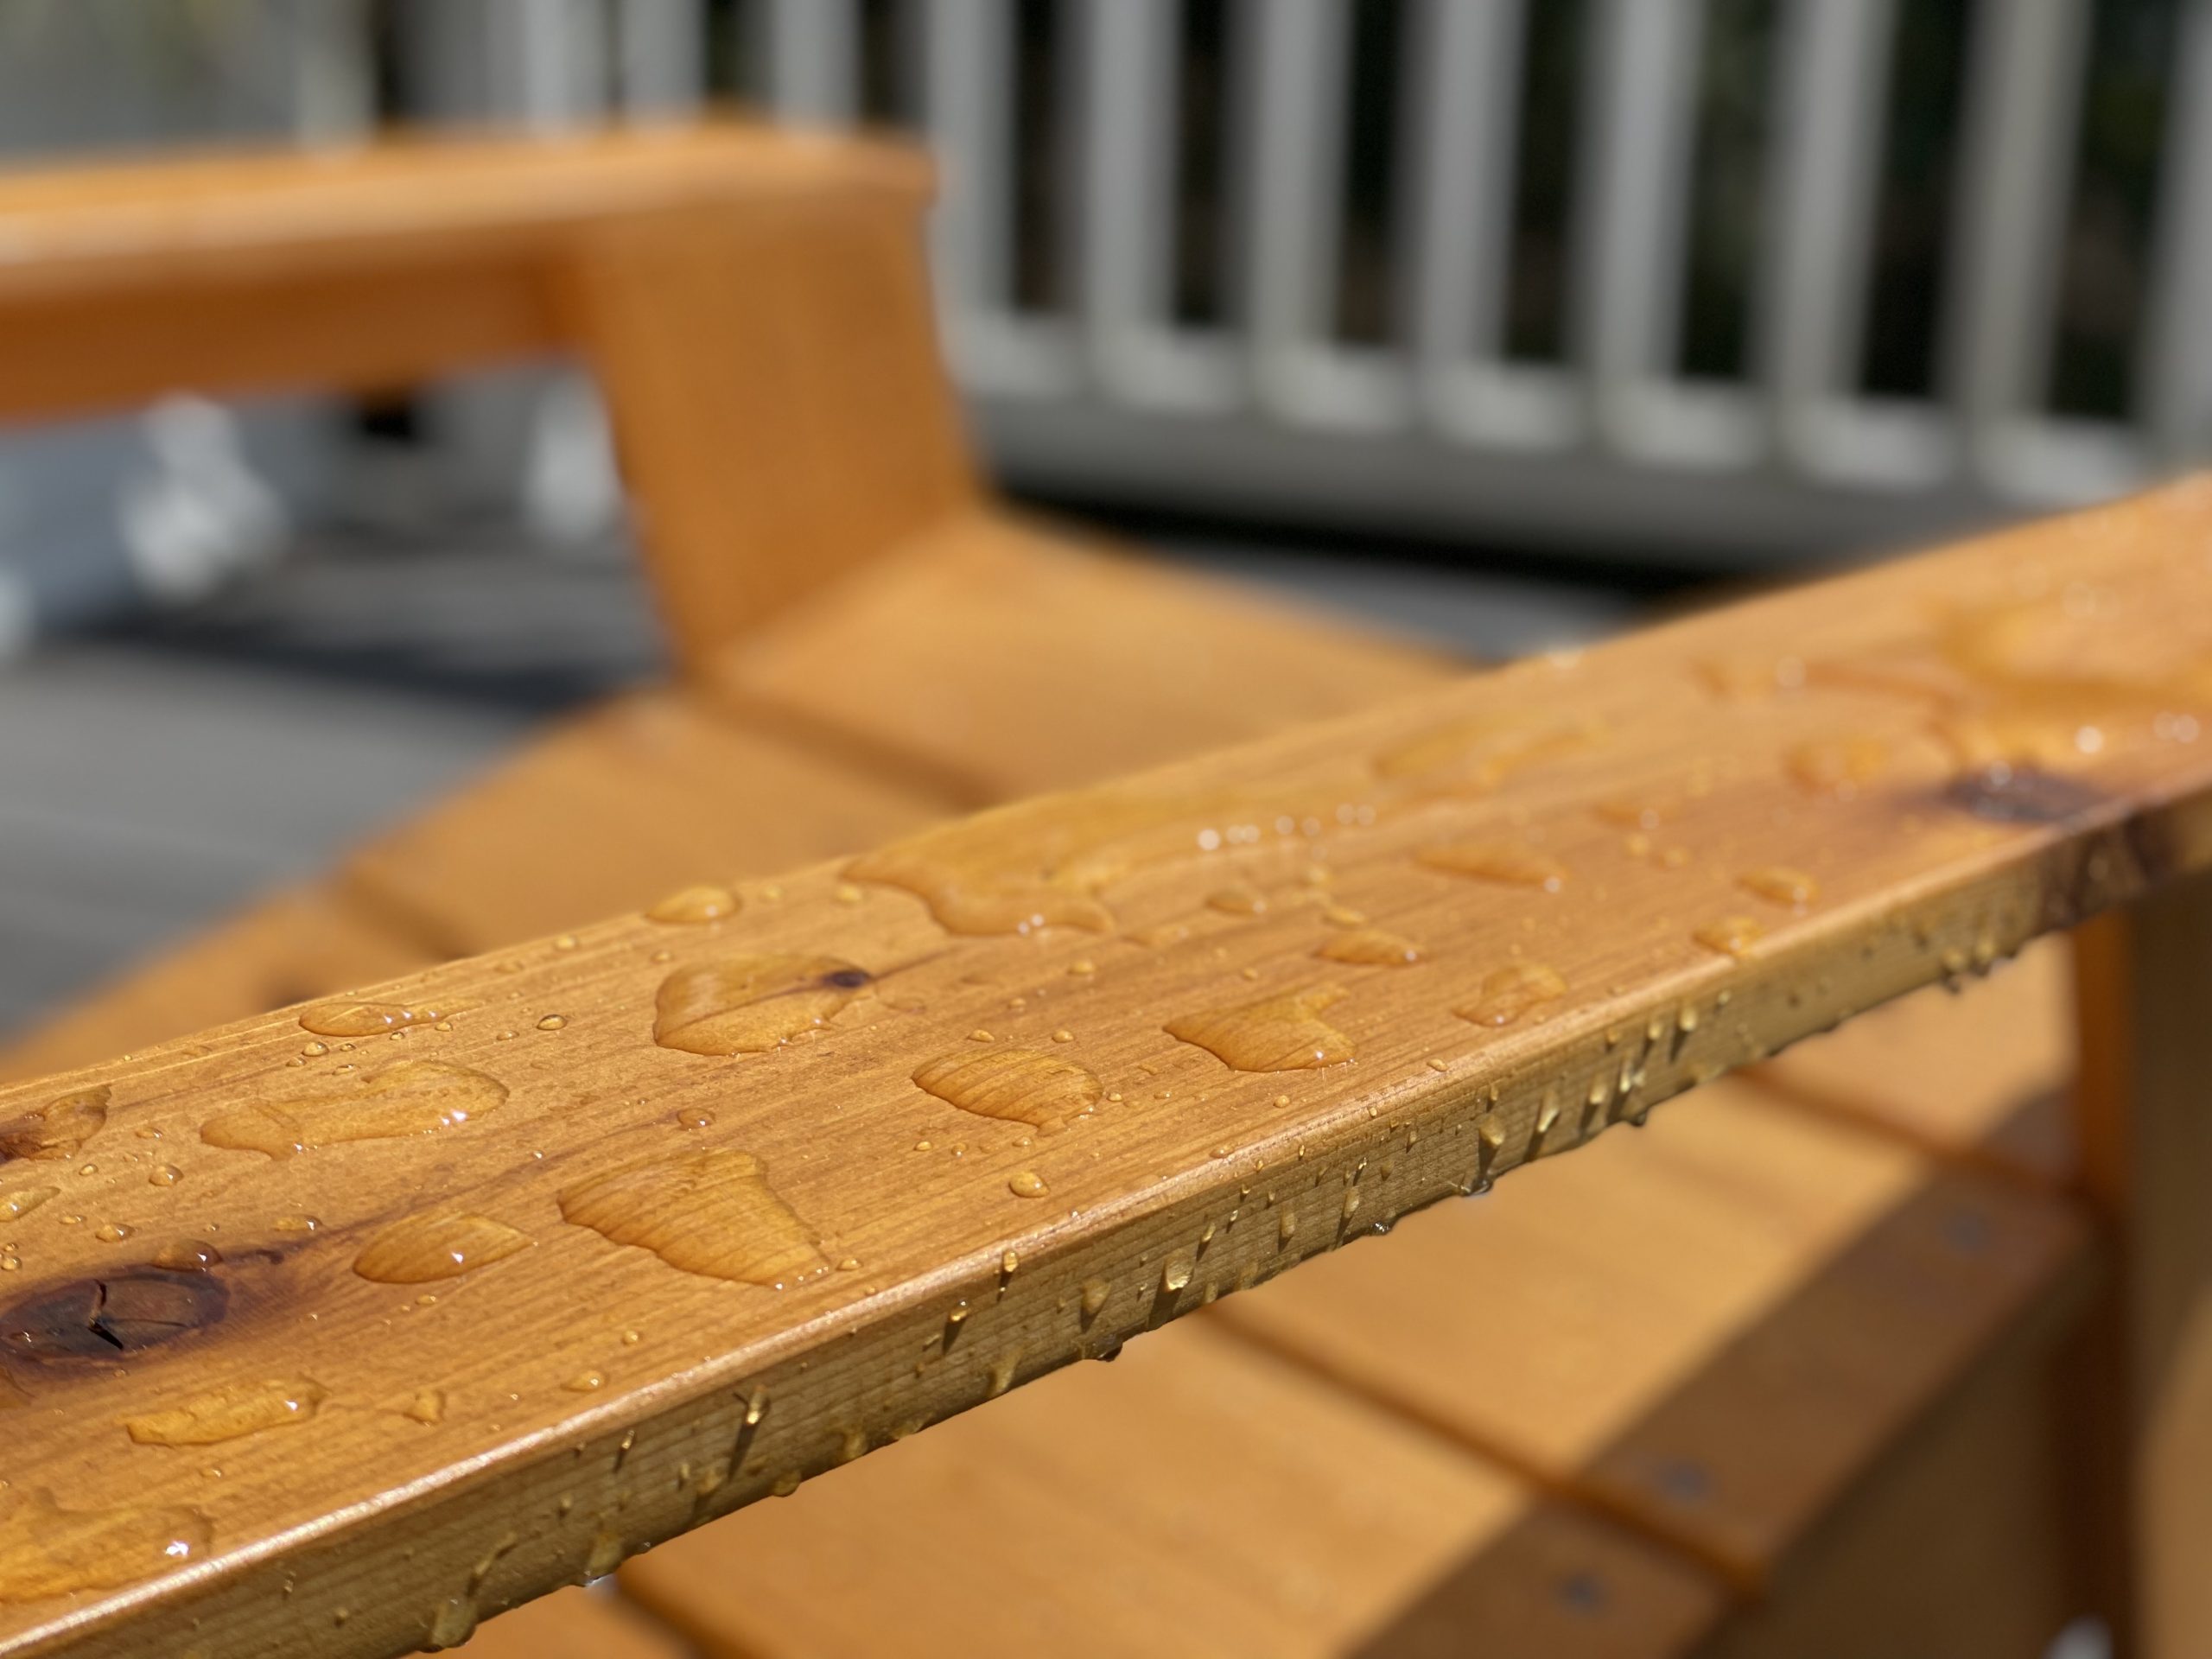
The next day I was able to deliver it to my house and take a little me time while the kids were at school. For a mediocre woodworker the plans were easy to follow I was really happy with the how my Adirondack chair turned out. Honestly the two best decisions I made were to use a beautiful wood like Western Red Cedar and to stain it with Australian Timber Oil. The finish looks great and it feels much more significant of a finish than I have typically used on exterior wood projects which gives a sense of security.
If you’ve got some exterior furniture or a deck that needs to be refinished I would really recommend you give Cabot Stain a look to see if it might work for your situation. After all, Cabot invented the original wood preserving shingle stain in the 1870s so they know what they are doing and this project was a great introduction for me to their stuff. You can find more information on their exterior stains right here.


Founder & Editor-in-Chief
I love old houses, working with my hands, and teaching others the excitment of doing it yourself! Everything is teachable if you only give it the chance.