 When you have dozens of coats of paint on trim and woodwork, touching up paint is not always as simple as grabbing a brush and going to town. When old paint chips off, you’re likely left with a crater in the surface.
The layers of paint that have built up over the years have made the surface thicker than it originally was and when the paint chips, you are left with what looks like pock marks. So, how do you fix chipped paint?
Sure, you can strip the paint down to bare wood and start over with a smooth surface, but that is a lot of work and not always feasible for a little touch up.
Simply touching up the paint hides the color difference, but does nothing to hide the big hole in the surface of the paint. You have to level out the surface and I’ll show you how right here with one of my favorite products, MH Ready Patch.
Ready Patch works just like spackle, but is intended for use patching wood and other materials instead of drywall like regular spackle. It is inexpensive, needs easy water clean up, and dries pretty quickly.
Whether it’s baseboards, casings, doors, or windows, this patch works great for any piece of trim with caked on paint. It’s by far the simplest way to fix chipped paint.
Step 1 Fill Surface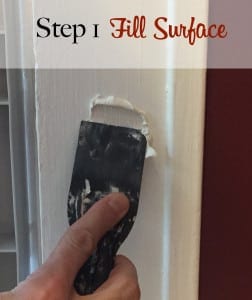

Using a putty knife, scoop out some Ready Patch and smooth it over the surface of the crater left by the chipped paint. Work it in several directions to fill any nooks and crannies.
Also, make sure to overfill the area a little so that when you’re ready to sand, you can sand it down to a completely level surface. Don’t go crazy, but leave the spackle a little proud of the surface.
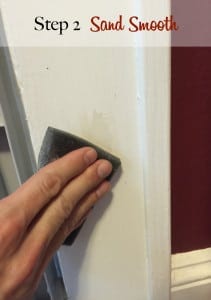 Step 2 Sand Smooth
 Step 2 Sand Smooth
Ready Patch will be ready for sanding in anywhere from just a few minutes for small patches to an hour or more for very large patches. You’ll notice the color changes from a grayish to bright white once it’s dry
Once the patch is completely dry, then sand it smooth using 120-180 grit sandpaper until everything is smooth and level.
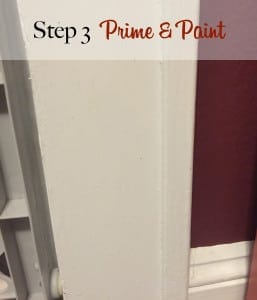 Step 3 Prime & Paint
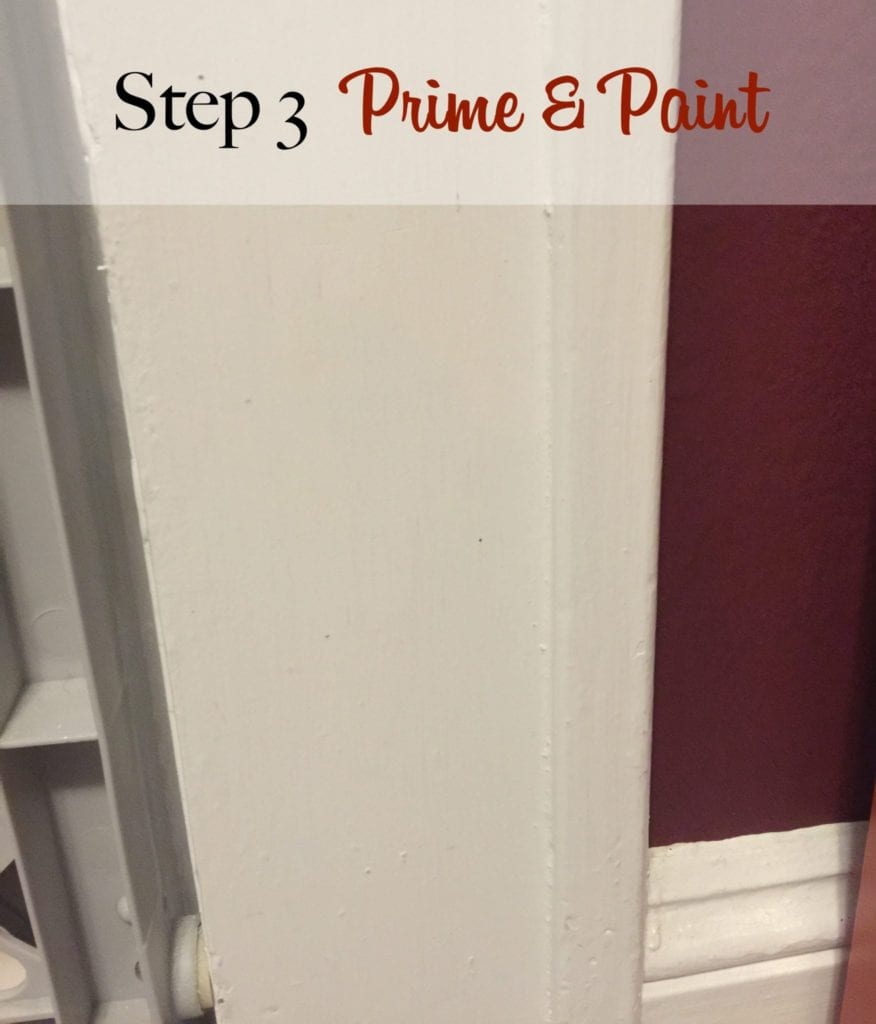
Touch up the patch with a little bit of oil or latex primer, and then you’re ready to re-paint the surface. And this time, the finished product will blend in perfectly with the surrounding trim or woodwork.
One coat of primer and one coat of paint later and I’d challenge you even know there was a repair done at all. Simple tips like this can make your next paint job go from good to great!


Founder & Editor-in-Chief
I love old houses, working with my hands, and teaching others the excitment of doing it yourself! Everything is teachable if you only give it the chance.
I have an oil based paint on my hardwood floors. Long strips of the wrong tape has pulled off the paint down to the wood…about 25’ by 1.5” wide. Can just these strips be filled in and repaired and hold up over the years? I cannot use oil based paint again and wonder how it could be matched up with latex and what type primer I would need.
Is all of this possible or do I have to to the whole floor?
I’ve used MH Ready Patch extensively and agree that it is a great product. I buy it at Lowes or my local paint store. Just be aware that it dries quickly so take a little bit out of the can and put the lid back on until you need more. I find that when you fill deeper depressions (screw holes or deeper dents) the product shrinks so leave it proud of the surface like Scott mentioned. It also takes much longer to fully dry than lightweight spackles.
I have an old house that needs some TLC, the Ready Patch will be great to fix the paint that has cracks and chips in it. Can I use Ready Patch to fill in spaces in my hardwood flooring before I put on the finish?
if the crack is part of an outdoor porch ceiling you can use the 2-part wood filler epoxy which is waterproof. Then prime. Great article thanks.
Scott are you using ready patch lite (with water clean up) or ready patch with mineral spirits. we have a 300 year old house with a lot of built up paint and chips. Thanks.Sara
Hi Scott: Are you using Ready Patch Lite with the water clean – up? Ready patch regular requires mineral spirits. We have 100 years of built up paint on the trim, which has chipped. Thanks.
Regular Ready Patch for me.
If it’s been a while since you originally painted and you’re touching up( enamel trim) would you use the original paint color or try to MATCh the current, slightly darkened color?
I’d match the current color
If I decide later I want to strip my woodwork (I have an ultra violet heat gun then stripper for clean up) would the putty come off with the paint? Would it cause problems later? I have completely stripped the pantry (10ish layers of paint) and want to do more rooms in the future, but need it looking presentable in the meantime and almost no painted surface is without major pot marks.
I’m very curious about this question as well, if anyone has any info.
Our porch floor has been painted 3-4 time and now it’s peeled in large spots. We want to repaint but want it to blend. What is the best way to do this? Does this product work outside on the porch floor?
Thank you
I should mention that it is wood.
Heather – did you get any information regarding your problem? I have the same issue — old painted wood porch floor — and I am looking for the appropriate filler product before I paint. The house is 100+ years old, so I’m sure there’s lead paint under there. Thanks for any info.
I’ve been buying MH Patch by the gallon for years. I also love Durham’s Rock Hard wood putty. It’s good if you have larger (deeper) areas to fill. I wouldn’t use it to fill chipped paint on plaster or drywall. But I’ve used it on window sills and other rotted wood voids. Another great product for rotted wood is Minwax Wood Hardener. After you remove the softest rotted wood, the wood hardener soaks into the remaining fibers to make the area hard and ready to patch with Durham’s wood putty. Then shape, sand, prime and paint.
I have some trim that I had to remove. I will reinstall it and repaint. Imagine the chips, nail holes etc. from 124 yeas of paint and then the process of removing it and replacing it. Would this method still be the way to go, or I should I bite the bullet while the trim is off the wall to strip it bare? One other note, this is not the whole room but significant portions. so I want it to kind of blend with the other wood.
Bought myself for MH Ready Patch just yesterday and am looking forward to getting started on the multitude of spots that need some repair work around my old house. Thanks for the product recommendations!
Thank you for the suggestion! I am looking forward to giving it a shot
How would you patch chipped paint on a metal front door?
Thank you!
Same process
What about fixing chipped paint on the corner of wood trim?
Sharon, corners are a little more tricky. Usually I end up sanding the down the edges of the paint enough that once paint d you won’t see the distinct differences in thickness. This is called “burning the edges” and a lot of painter’s use this to avoid completely stripping and repainting.
Please do not sand paint on homes older than the 1970’s. It is lead paint. You must use a scraper and scrape it down until the edges no longer chip then you can use a filler. Be sure to keep the area enclosed and pets/children away from the area until all lead chips are cleaned up. Use common sense people. Especially on the house with 100 year old pillars. Definitely going to have lead paint on there.
Amy, you can sand paint that contains lead you just have to take the proper precautions to control the dust and keep others from exposure. It’s all about containment.
how do you do all that?
What about when they are much larger?
For larger areas it’s best to sand the edges down so the transition isn’t as noticeable and then prime and paint.
Awesome thank you! Just the information I needed.
This is wonderful news! My parents home was built over 100 years ago and has 7 pillars holding the porch roof, they have chipped over time and have just been painted again and again. Can you use the ready patch on the pre-painted wood? And – is this product fairly easy to find in store or does it need to be purchased online? I would love to restore this beautiful porch!
Laura, Ready Patch would work great for chipped paint on the columns. I would prime everything first or sand it to give the filler a little tooth to hang onto especially if the existing paint is still glossy.
This post is great because it covers a topic that is common in old homes. I’ve always used the basic wood filler sold at big box home improvement stores. It’s a little dry to work with but seems to hold up rather well once sanded, primed and painted. In your experience, what is the advantage to using MH Ready Patch?
Corbin, the Ready Patch sands much smoother than most wood fillers and hides better in my experience.