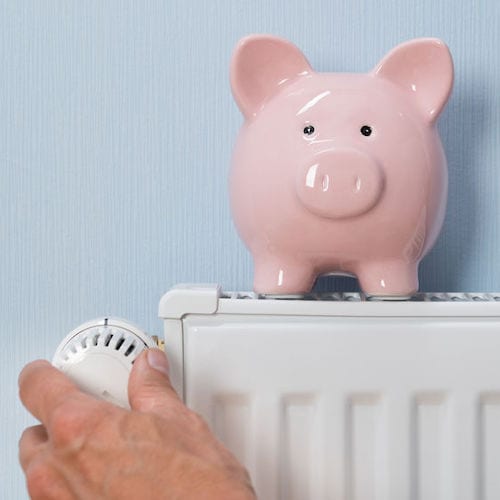
Sound “click baity” and too good to be true? It most certainly does, but it is very attainable to slash your energy bills by $300 this winter at your house. How much you save depends on how many of these tips you do and to what extent. I’d wager that you’d be able to save even more than I promise, depending on the specifics of your house and climate.
So, how did I come up with those numbers? Here’s my simple math: I’m figuring the winter heating season runs from November through March so that’s five months of high energy bills that for most people I talk to average around $300 a month. I’m sure some of you pay way less or way more depending on the condition of your house and weather you live in the Carolinas or the Dakotas.
If you could save 20% on your heating bills, that would be about $60 per month for five months, which gets you to $300 this year. 20% savings on a house should be an easy number to meet (and even beat) if you do all four of these hacks. So, let’s get into the details and start saving money!
1. Add Storm Windows
If you have your original historic windows and you don’t have storm windows, you’ve got to consider adding them before winter. Storm windows not only protect your windows from the winter weather, but they make them extremely energy efficient! A single-paned window in good shape with an exterior storm installed can actually exceed the efficiency of a double-paned replacement window! Read the facts here.
Buying a whole house full of storm windows can be expensive, believe me, I understand. But if you’re handy, you can save a ton and make your own DIY storm window. Think it’s too complicated? I created a video and a blog post to show you exactly how I do it. It’s not tough at all and you don’t need big woodworking tools, just some basic stuff. Check out the video below.
2. Seasonal Weatherstripping
What kind of weatherstripping you choose totally depends on your budget and situation, but there are a lot of options out there. The long and short of it is that you need to keep that cold air out and that warm air in. Leaky doors, windows, attics, leaky anything is no good for winter, so get them sealed up now. Seasonal weatherstripping options are very inexpensive, because they are something simple you apply in the fall and remove in the spring. The video below will give you ideas on some of the products you can use and how to install them.
3. Add Insulation
Now that your attic isn’t blazing hot, it’s the perfect time to go up there and add some blown-in insulation. Blown-in insulation is one of the simplest types of insulation to install and almost any DIYer can install it. It works for most houses with an open attic space due to its great versatility and is almost impossible to screw up.
Pick up a few bags of my favorite Green Fiber, or try recycled denim and most big box stores will even loan you a free blower to install it when you buy from them! Check out this detailed post on the process for all the tips you need.
4. Spring Bronze Weatherstripping
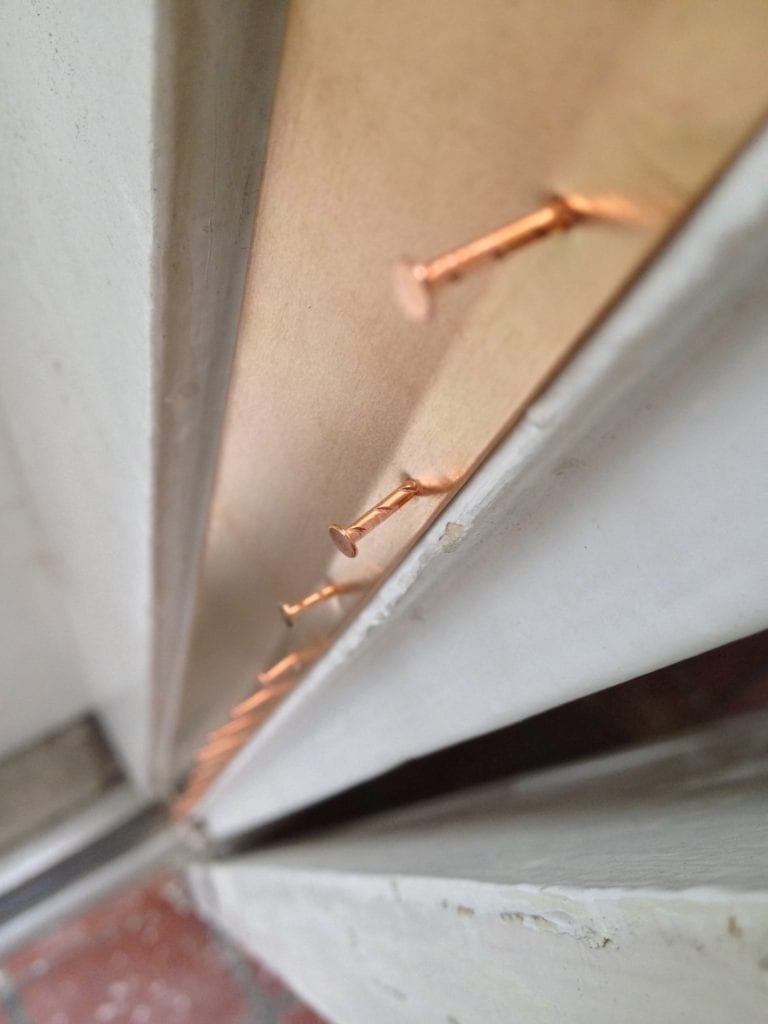
The mac-daddy of weatherstripping, spring bronze, lasts for decades and doesn’t lose its effectiveness at sealing windows and doors. It is a simple bronze ribbon that is nailed in place and presses up against the sash or door when closed to keep drafts at bay. The installation takes a bit more work than some of the seasonal options mentioned above, but the fact that once it is installed, you won’t ever have to mess with it again makes it worth the challenge. You can buy some in my store right here!
Check out this series of posts about installing spring bronze on doors and windows for tips:
- How To: Install Spring Bronze Weatherstripping
- How To: Weatherstrip Wood Windows
- How To: Cure Drafty Windows
What’s It Worth?
Yes, there is a cost to these improvements, but they continue to pay for themselves all winter and some of them will continue to pay for themselves year after year. Just think that in 4 years, we’re now talking about thousands of dollars in savings.
Making little energy improvements to your old house piece by piece can be immensely satisfying to not only your wallet, but your comfort. Avoid those drafts and high energy bills this winter with just a little pre-planning this year and get to work now to slash energy bills before it’s too late.


Founder & Editor-in-Chief
I love old houses, working with my hands, and teaching others the excitment of doing it yourself! Everything is teachable if you only give it the chance.
Great videos! Thanks for taking the time to do them