
 I’ve written about repairing plaster walls before, but sometimes there are sections of plaster that have been removed or are missing and you need to fill in the gaps. I’ll show you how to easily fill in these missing sections.
This repair also works on drywall for all you new house folks too.
When you have an area (large or small) where you’re missing plaster, whether it’s thanks to the electrician/plumber/HVAC guy or the plaster was damaged some other way, you can patch the area rather simply with just a few items.
Items Needed:
- Scrap wood
- Driver or drill
- Drywall screws (varying lengths)
- Drywall or plasterboard (varying thicknesses)
- Bucket
- Drywall knife or trowel
- Sponge
- Setting type joint compound or plaster
If there is still lath in the damaged section, then the repair is even simpler, but that’s not always the case. If you do have lath behind the void, then skip to Step 2.
How to Patch Plaster
Step 1 Install Supports
If you have a hole (like in the picture) the first thing you need to do is attach support pieces. These supports are just small pieces of scrap wood (1/2″ to 3/4″ thick) that you can attach the patch to.
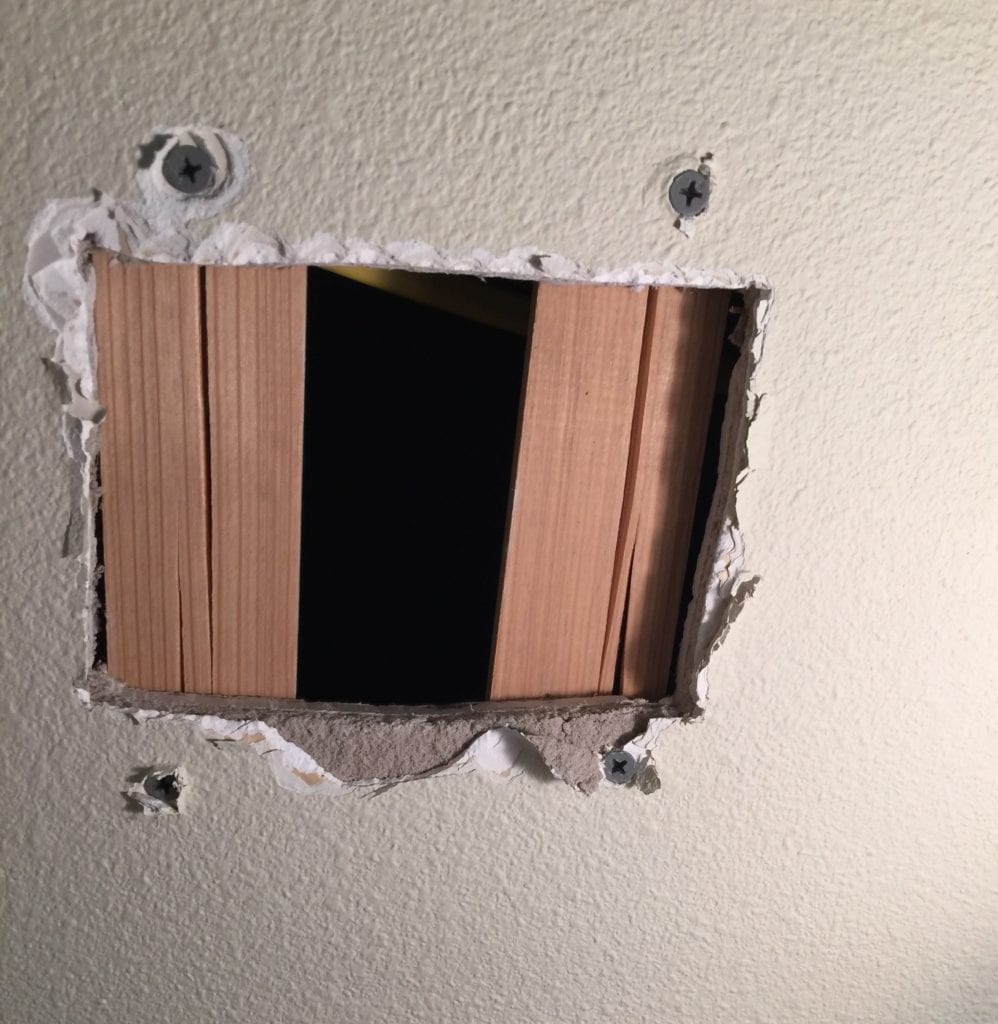
Cut at least 2 pieces (cut more if there is a large area to patch) a few inches longer than the void you have to fill. In this case, I had a hole that was 4″ x 5″ so I cut 2 pieces of wood 7″ long.
Next, slip them into the void and lay them across the opening as you see in the picture. These will be the supports for a piece of drywall or plasterboard we’ll install shortly.
Once you have them in place, attach them with a couple screws into the existing plaster. Make sure to use screws long enough to make it all the way through the plaster and support pieces.
As you screw in, the support piece may be pushed up by the screw. Just back the screw out and try it again. It may take a few times to get the screw to pull the piece tightly to the backside of the plaster, but it will work.
Sink the heads of the screws into the plaster and don’t leave them proud of the surface, you’ll be covering them later.
 Step 2 Attach Patch

Cut a piece of drywall or plasterboard the same size and shape as your void and attach the piece using drywall screws. Screw the patch into the support pieces (or lath) every 6-12″ so that the patch is securely in place.
If you’ve got a complicated and large area to patch, you may have to be a bit of an art student to cut a patch to match, but just do your best. You can always use multiple pieces if you need to.
Step 3 Get the Right Thickness
Depending on how thick your plaster is, you may need differing thicknesses of patching board. For thick plaster, I’ve used 2 pieces of 1/2″ plasterboard stacked on top of each other. Other times it’s a piece of 1/2″ and 1/4″ board. In this case I got away with just one piece of 5/8″ plasterboard.
It really depends on your wall, but the important thing is that the patch should be just a little shy of the thickness of the wall. You don’t want the patch to be the same thickness of thicker than the wall, otherwise it will be visible later.
 Step 4 Fill and Smooth
With this technique, you won’t have to make a big sanding mess like with other patches.
Use either veneer plaster, setting-type joint compound, or my favorite Big Wally’s Patching Plaster for the repair. Mix up a batch and cover the patch and screws so that it is just a little proud of the surface of the existing plaster.
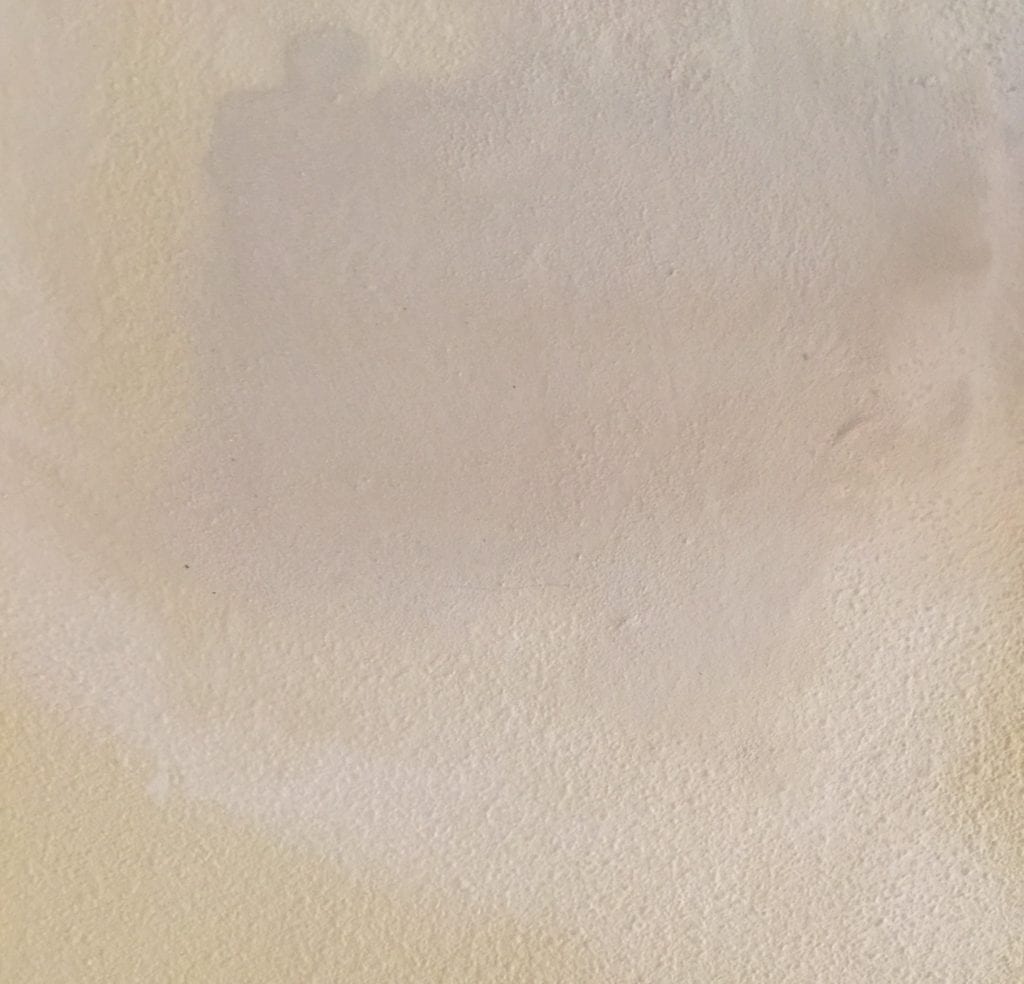
As the compound firms up, wipe it down with a damp sponge so that the patch is now completely flush with the surrounding plaster.
Step 5 Add Texture
Depending on whether your wall is textured or not, it’s now time to add the final touch. Whether it’s an orange peel, knockdown, sanded finish or some other type of texture, you can now add that texture to the wall as best as you can to match the existing style.
I’ll be posting next week about some of the most common plaster textures and how to match them.
I hope this encourages you to patch your plaster walls and not tear them out. It’s not that difficult to patch plaster and with a little practice, you will never even see the patch. Plaster really is a better wall material than standard drywall and it deserves to be saved.
Happy patching!


Founder & Editor-in-Chief
I love old houses, working with my hands, and teaching others the excitment of doing it yourself! Everything is teachable if you only give it the chance.
Nice blog. Thank you for sharing this blog.
Good Info. My plaster is on a metal wire mesh lath, is this repair method still feasible?
Hello, I live in a Century farm house probably 1890’s. I have this yellow brownish stain on my bedroom walls. Im not sure what it is or how to go about fixing it.
I have ceiling where at one time it bubbled. Probably water. Everything time I try to patch once dry it bubbles. Help.
My old homeplace was built in 1934 by my grandfather. He cut the trees from the farm and took them to my uncle’s saw mill. All the walls are plaster and thankfully there are no holes, just cracks that I need to repair. What is the simplest was to do these cracks?
Hi Barbara,
How amazing that your Grandfather built your home in 1934! We love hearing stories like that. Our best recommendation since we can’t see it in person is to find a certified preservationist in your area using this directory and they’ll be able to advise excellently upon seeing it physically. https://thecraftsmanblog.com/directory/
Thanks so much for reading our blog!
-Alyssa at The Craftsman Blog
I have a hundred year old home with a bedroom plaster ceiling that is ready to fall. My handyman says he can fix it – drywall the whole ceiling. But I’m not so sure that’s the way to go on this . All other ceilings and walls are plaster. What’s the best way, plaster or drywall? And I must also consider the cost factor. Are there still plasterers out there?
There are still plasterers around (check my directory page). You can also use Plaster Magic (in our store) to re-adhere the existing plaster to the lath and keep from having to replace it.
One of my kids recently decided that it would be a good idea to ride down the stairs in a plastic bin and crash into the wall at the end of the stairs. Thankfully they weren’t hurt, but I can’t say the same for my wall! I have a rather large hole that I need to fix, but I’ve never watched up a hole of this size before. I think that your post is going to help me a lot as I go to repair the damage done! I especially liked that you included pictures with your step-by-step instructions, so that I can compare what I’m doing to what you’ve done. Thank you for the help, I’m going to get started on the repairs as soon as possible!
I have a closet ceiling in a1924 home that looks like someone stepped between the rafters in the attic and cracked the plaster badley. The paint is also all peeling. How do I attempt to fix this
Try these posts here on plaster repair. https://thecraftsmanblog.com/?s=plaster
Home improvement stores sell those drywall repair kits. They don’t involve putting a base of 2×4 behind the repair. Its base is fiberglass. I’ve never used one of those but think this is definitely the way to do it.
Oh and for small holes I’ve used toothpaste before in place of joint compound. It works in a pinch and smells good too : )
Glad to see a pro say this is acceptable even for drywall. I can do this and make it look pretty good,
but when I try to use tape and joint compound it always results in bumps in the wall
Good tips! For small patches that don’t need structural support I learned a pro trick from some forums. Cut the patch 1-2″ bigger all the way around. Now cut the backside of the patch to the actual size and “peel” off the excess 1-2″ outside section. The goal is to leave the face paper in tact and use it as a built in paper ‘tape’ joint.
question, is there a reason that you’re not recommending to use paper tape on the joints of the patches? Does plaster not need it? I thought the rule was to always ‘tape’ every edge to prevent future cracking.
Hi Scott, in the past you’ve talked about making a modern plaster mix. Would you recommend that mix for this type of repair job or should we just stick with only a veneer or only a joint compound?
Also, wondering if the size of the patch job would influence what type of compound is used.
Thanks in advance
Rob, I do use the modern plaster for these repairs often. That is actually my preference unless it s a small patch then I usually use joint compound for the convenience.
This is really helpful. My 1872 bungalow rehab is missing a big section of plaster and lath about 2′ wide by 1′ high. Wasn’t sure what I was going to do with this! Thanks!