
 Wood finish comes in as many varieties as there are species of wood. And, they all have their time, place and use. Probably the most useful wood finish In my cabinet is my own homemade wiping varnish. The good news is, you can make your own too! It costs much less than the store bought varieties and you can tweak it to fit your project perfectly.
The Uses
This wood finish is technically a wiping varnish. Sometimes it’s called a oil-varnish blend. There are two big benefits to this type of finish.
- It is a “penetrating finish”. That means it soaks deep into the wood and protects and strengthens the wood from the inside out. Most varnish finishes sit on top of the wood and once scratched, their protection is gone.
- It’s extremely easy to apply. It is a time consuming process to build up the necessary coats, but it is almost idiot proof to apply. No bubbles or brush marks to worry about.
I prefer to use this type of finish on furniture, banisters, and any wood surface that needs to not only look great, but feel great. This finish will give your wood a hand-rubbed appearance and very “close to the wood” feel that doesn’t seem like a layer of plastic covering the surface. The finish can be used on floors, but I general don’t recommend it because the time needed to build up enough coats is prohibitive. It does go on in very thin coats and is therefore time consuming to apply the many coats needed. But it is so worth it!
The Recipe
Get out a sealable metal container and mix the following:
- 1 part Mineral Spirits (paint thinner is fine too)
- 1 part Boiled Linseed Oil (BLO)
- 1 part Satin Polyurethane
This is my standard formula. You can modify it in many ways. For outdoor uses, you can substitute spar varnish for regular polyurethane. I also will often use less and less BLO with each successive coat. The BLO slows down the drying process, but it is the ingredient that gives the finish its penetrating characteristics. The BLO is very important in the first 3 or 4 coats, but after that, I typically scale back to only about 10% BLO and 45% of poly and mineral spirits. Experiment and find what works for you.
The Application
The finish is best applied to bare wood that is sanded smooth. Don’t sand any smoother than a 220 grit sandpaper, or the finish won’t soak in as well. You can use an old T-shirt or wiping rag to apply the finish once the surface is clean of any dust. Simply dip the rag in the mixture and apply it VERY liberally to the surface. I try to flood the surface, especially on the first couple coats. The varnish will soak into the wood fairly quickly depending on the species. Just keep adding more until it stops soaking in.
Once the wood is saturated, let it sit about 30 minutes and then come back and wipe off the excess. Let the varnish dry for 8-12 hrs and then come back and repeat the process by adding another coat. Every other coat, be sure to sand the surface with 0000 steel wool to level out any high spots in the finish and smooth out the surface. If the varnish is gumming up the steel wool instead of coming off as a fine dust, then you need to wait longer between sandings.
Continue this process for about 6-8 coats. The wood will absorb less and less of the varnish with each successive coat, and the continued steel wool sanding will make the surface as smooth as (insert your favorite smooth object here). Sometimes I’ll finish with a coat of paste wax and other times I’ll leave it as is. Either way, you’ll have a beautiful and well protected project that you can enjoy for years.
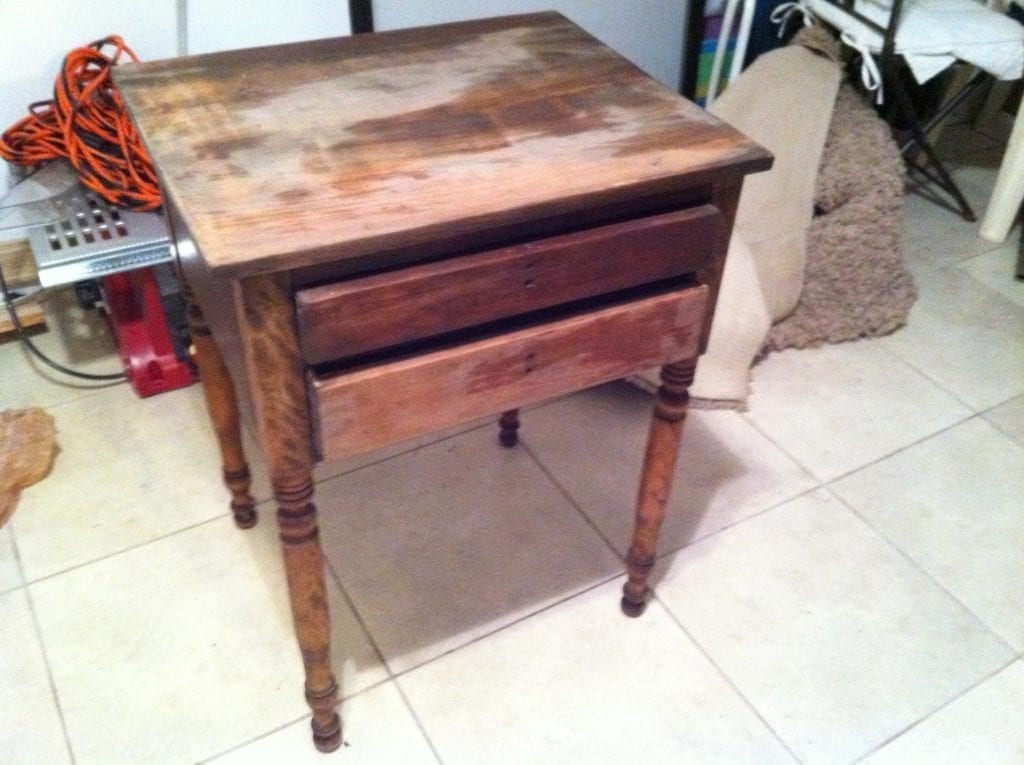
Here is an example of a night table that I finished with this method:


Got a better mixture? We’d love to hear it! Share it by commenting below.


Founder & Editor-in-Chief
I love old houses, working with my hands, and teaching others the excitment of doing it yourself! Everything is teachable if you only give it the chance.
We’re planning to use Ikea butcher block in our kitchen. I’m trying to determine what treatments to use – mineral oil, waterlox, or this wood finish. How would this finish hold up on kitchen counters? Probably 2 coats on the underside and 3-4 on the top side. Thanks!
I kind of recommend a different approach slightly for projects involving making a staff, stock for a muzzleloader, of something personal.
1: Finish sanding the wood, and collect the fine dust.
2: Take a light lukewarm damped cloth or towel in water, and wipe dust off. This will bleed the wood to bring out the grain.
3: Let wood air dry.
4: Mix Mineral Spirits, Boiled Lineseed Oil, and preference of Polyurethane, but also now add that sanded wood dust pigment.
Essentially you have given your varnish color, color of the wood you sanded. Thus symbolically putting back, what you took out in the wood.
Irony in a craft or trade. 😏
I am stripping and refinishing the woodwork in an old house. The woodwork I believe is pine. Varnish with a couple coats of paint on top. I started heat stripping and it takes off the paint and leaves the orangish varnish. I’d like to strip it completely and try a natural finish. What would you recommend?
Take a look at BlueBear Paint and Urethane remover if it’s polyurethane or test it with some denatured alcohol because it may be shellac and that will come off with just some steel wool and denatured alcohol.
What ever you use for a butcher block it needs to be considered food safe. There are a number of hardwax/oil finishes on Amazon. They are penetrating finishes that will allow touch ups as required.