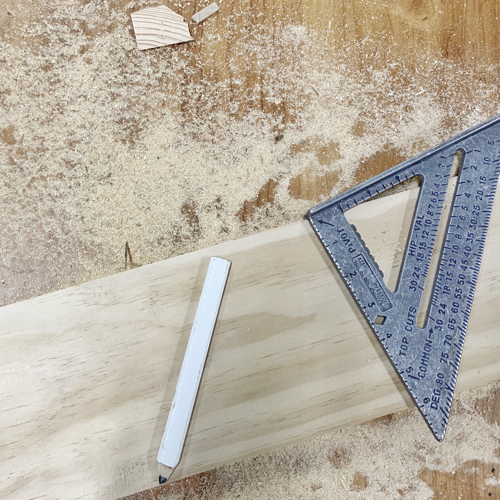
One of the most versatile but under used tools in your tool bag has got to be the speed square. Most people use this only to draw a straight line across board or maybe square up small corners, but that only scratches the surface of what this powerful little tool can do.
In this post, I’ll show you seven very helpful tasks you can complete with ease and start using your speed square like a pro. Are you ready?
Below is a list of all the tools I personally use in this post so you can easily any or all of them to your Amazon cart without leaving this page.
#1 Draw a Straight Line
I mentioned this earlier and almost everyone know that a speed square excels at drawing a straight line across a board or even drawing a perfect 45 degree line as well. This is largely due to the lip on one side that allows the speed square to line up perfectly along the board’s edge giving you a perfectly straight 90 or 45 degree line.
#2 Draw Angles
Using the pivot point you can create lines at any angle possible with simplicity just like the old protractor in geometry class.
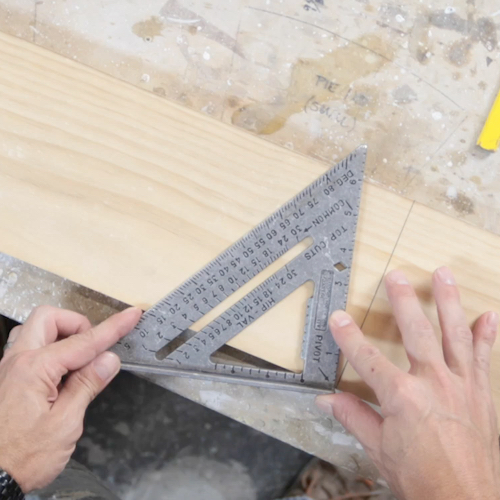
Simply pivot the the angle you need and hold the speed square in place while you trace the line. This comes in particularly handy for rafter tail ends and anything else where you need custom angles quickly and easily.
#3 Mark Boards for Ripping
Most speed squares come with several notches at specific intervals so you can have a place to lock your pencil in place and draw a straight line along the edge of a board.
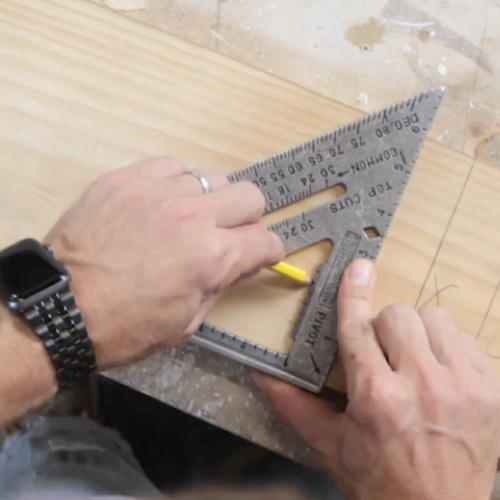
Unlike I mentioned above where you’re marking to cut across the board this mark substitutes for a straight edge and lets you draw a perfectly straight line along the length of the board. No more hauling a 8’ level along to rip boards or layout framing.
#4 A Saw Fence
When making cuts with a circular saw or jig saw it’s not always easy to get a perfectly straight cut since the saw can wander ever so slightly. Well, you can solve that problem by lining your saw up for your cut and then placing your speed square against the base plate of the saw so to use it a fence.
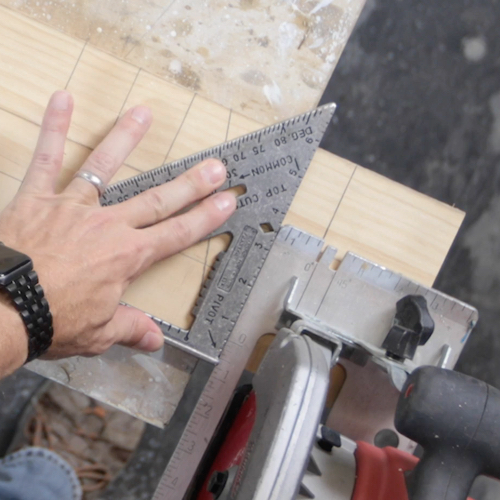
Doing this you’ll be left with a perfectly straight cut without the trouble of setting up a straight edge once again or grabbing a track saw.
#5 Framing Layout
Laying out studs with a speed square is extremely easy thanks to the marking on the tool. Common 2×4 studs measure 1 1/2″ x 3 1/2″ and there are markings on the speed square that allow you to quickly mark where the next stud should be and then draw your straight line across the board without moving the tool.
#6 Rafter Layout
Unless you’re framing roofs you probably won’t use this feature but that doesn’t mean it isn’t useful. There are markings for common rafter angles and as well as marking that allow you to quickly figure out hips and valley angle on a roof all with this one tool.
#7 Roof Slope
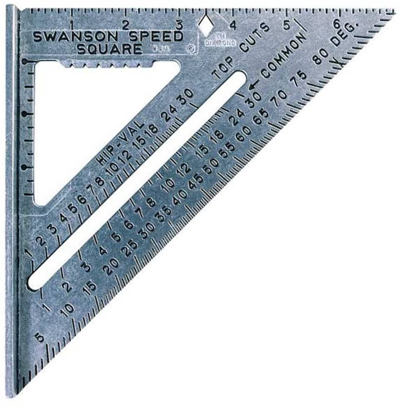
What is the slope of your roof? If you can only answer “steep” then a speed square can help you determine that which is important in determining which type of roof covering you can use.
Your roof slope is measured by telling the the rise to run ratio. Meaning if your roof rises 4″ for every 12″ across then you have a “4 in 12” roof slope. A speed square held up to the roof line can easily determine this slope for you without any measurements.
I hope I’ve convinced you how useful a speed square is and why you should have this great tool in your pouch. If you don’t have one already I would recommend getting a Swanson Speed Square. They are a bit more expensive, this is a tool that once you buy the right one you’ll never need another even if it gets run over by your truck.
Subscribe Now For Your FREE eBook!

Founder & Editor-in-Chief
I love old houses, working with my hands, and teaching others the excitment of doing it yourself! Everything is teachable if you only give it the chance.

