Last week I showed you how we started transforming an old garage into a tiny guest house. This week I’ll tell you about some more of the details of getting this tiny house ready for visitors. This week’s post is a bit more building science as I share about sheathing, insulation and floors. Next week, we’ll get into the interior details and finishing touches that make it really shine.
Sheathing & Felt Paper
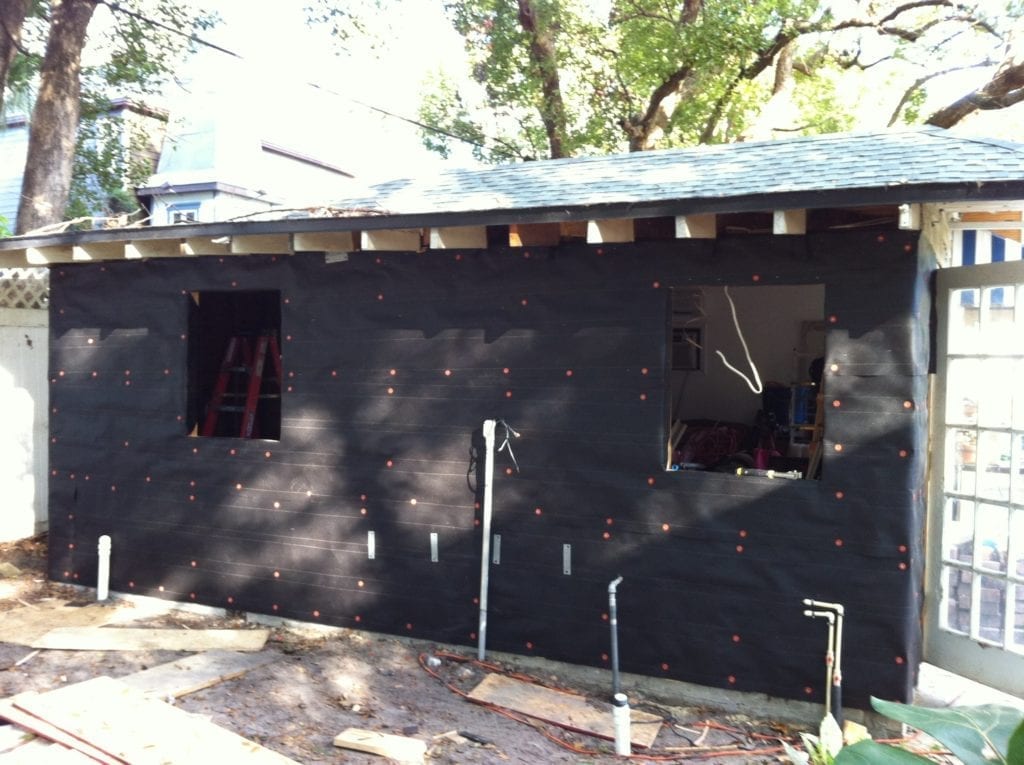
Once the new exterior walls were up, we installed 7/16″ OSB sheathing and used 15 lbs. felt paper. I was tempted to use Tyvek or better yet HydroGap, but since the benefit of modern building wrap is that it provides a vapor barrier that was unnecessary on this project.
Since we were leaving about 60% of the old siding up and therefore not adding building wrap to those areas, I felt that a vapor barrier on only a portion of the guest house was pretty pointless. If I could add it all over and really seal the place up, I would have taken advantage of it, but in this case, the main purpose was to keep the walls dry.
Felt paper installation is pretty straight forward. Unlike building wrap which requires you to tape the seams, felt paper simply needs to be installed horizontally with the top pieces overlapping the bottom pieces by about 6″. You can then staple it in place or use cap fasteners depending on what is required by the building code in your area.
Windows
After the sheathing and felt paper were up, we installed our historic replica windows made by my friend Steve Quillian of Wood Window Makeover.
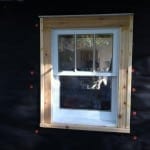
These windows were made to the same specifications that the home’s original windows were. Double hung, all wood (cypress) construction, sash pulleys, ropes and weights. The only difference was that they didn’t have a dozen layers of lead paint on them. Once they were trimmed out on the exterior, everything was ready for siding.
Trim & Siding
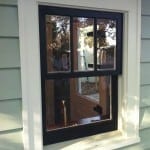
We were able to salvage and reuse a lot of the old cedar siding, but some of it was too far gone so we had to buy new. For the exterior trim, I duplicated the rounded corners trim pattern from the main house.
To protect against wood rot, we used cedar boards and were careful to prime all six sides. The exterior window trim was done in the same manner and we used a wood drip cap above the windows to, again, match the existing windows.
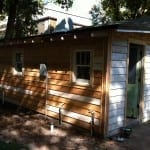
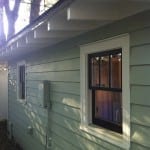
The siding we installed was 8″ cedar bevel siding which, like all the trim, was back primed before installation. For a lasting installation we used hot-dipped galvanized ring-shank nails.
Cedar has a tendency to eat through regular fasteners, so hot-dipped galvanized are the only way to go. And I prefer ring-shank nails because they have greater holding strength than regular nails. In a hurricane prone area like Florida, you want to make sure your siding stays put.
Insulation
For insulation, I decided to do a little test. In Florida, R-13 is code for insulation in walls which is usually attained by installing fiberglass batts. Since the majority of heat transfer into buildings in Florida is radiant, I decided to use a special radiant barrier only.
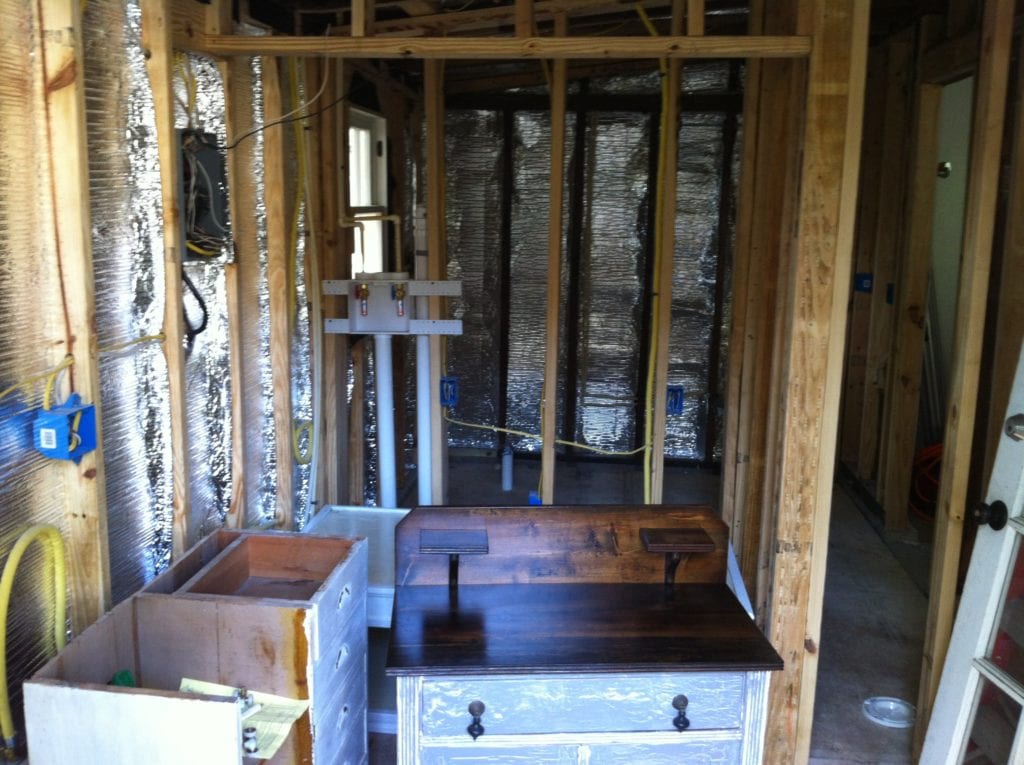
This product, from innovative insulation, was a cinch to install and only cost about $0.19 per SF. Their testing says that the product blocks 95% of all radiant heat.
For the test, I installed this bubble double-foil radiant barrier on the underside of the roof and in all the stud bays of the walls on the addition side. In the old garage portion I left the R-13 fiberglass batts in place.
My test was to see if I noticed a difference between the two sides. I haven’t finished my tests yet, but so far the radiant barrier seems to be more effective during the winter months. I’ll let you know when I have more info.
Floors
Once we got the floors leveled we had some decisions to make about what kind of flooring to use throughout our tiny guest house. I had about 500 SF of reclaimed red oak flooring sitting at the shop that I wanted to use, but my wife had other ideas. She wanted carpet in the bedroom and wasn’t sure about hardwood floors in the kitchenette/laundry room.
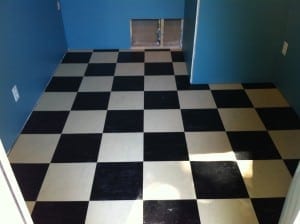
We both agreed that the bathroom floors would be 2″ white hexagon tiles to keep with the 1920s style we were going for. After a few weeks of discussion, I let her have the carpet she was wanting even though I’m not a carpet kinda guy. And we decided to go with real linoleum tiles for the kitchenette.
Though it may sound like a cheap and “un-historical” option, linoleum is a perfect choice for a kitchen floor in a historic home. Don’t mistake linoleum for vinyl. They are very different. Linoleum was immensely popular in the 1920s and is a natural, eco-friendly option. Read more about the difference between linoleum and vinyl in my earlier post here.
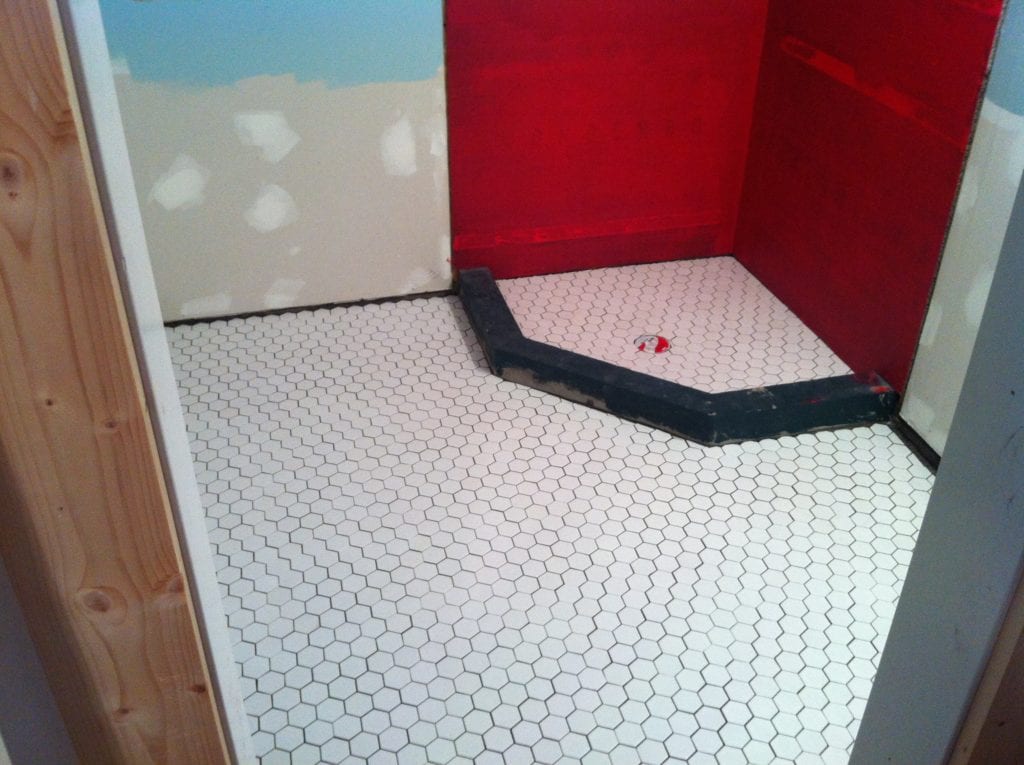
The prep for tile and linoleum is quite different. To prepare for tile we thinset and screwed down 1/4″ cement board in the bathroom floor. Then we used a crack prevention mortar to set the floor tiles since the framing is wood and will flex over time. This will prevent loose tiles in the future. This type of mortar can flex about 1/16″ without breaking its bond. We then went with a light grey grout to finish it off.
I will have to say that tiling around a neo-angle shower base like we installed was in no way fun. It made me long for 90 degree angles.
Tile tip: Save yourself the trouble and buy a square drain instead of a round one. Cutting tile to fit nicely around a round drain is a pain even for a pro.
For the linoleum floors, we needed to install 1/8″ sanded plywood over the subfloor to give a perfectly smooth surface with no gaps. We stapled it down to the subfloor with a nail gun and glued down the linoleum tiles.
Another flooring tip: When installing a glue down floor, make sure you have plenty of adhesive remover and you use it as you go. Once the glue cures, it is almost impossible to get it off.
After the floors were in we hung some drywall, put on a couple coats of interior paint, and the inside was ready for all the fun detail work that we’ll talk about next week. You don’t want to miss it.
Transforming an Old Garage Into a Tiny House (Part 1)


Founder & Editor-in-Chief
I love old houses, working with my hands, and teaching others the excitment of doing it yourself! Everything is teachable if you only give it the chance.
I need to replace deteriorated (beyond repair) drip cap on some of the windows on my shingle-sided house. I would also like to stick with wood as you did. I have read that flashing should be used with wooden drip cap. If you agree, can you please explain how that goes? I’ve seen diagrams that show flashing either under or over the wooden cap. (Since I’m trying to preserve the look of mine, my preference would be for under.)
Thank you,
Jennifer
Very good info. Lucky me I came across your site by chance (stumbleupon).
I have saved it for later!
The bathroom in our “future” house has hexagonal tiles and I love them! I can imagine cutting the tiles to fit odd angles is frustrating. LOL. Can I ask…is there a website that has what the building codes are for each state? Or is that something we have to go to the county office for? Going to read your other post on linoleum vs. vinyl! Can’t wait to see the finishing touches on this tiny house!
toni
Toni, most states have all or most of their building codes online now. You should be able to google it.