Sandpaper is an integral part of any almost every kind of home repair- especially finish work. Painting, carpentry, drywall, flooring, they all need sandpaper at some point and you need to know what grit sandpaper for each application.
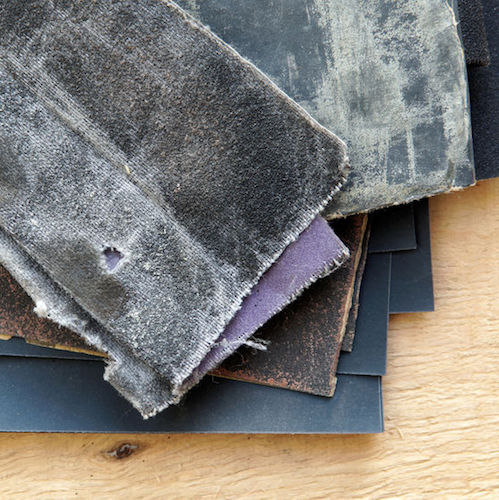
There are a least 1,387,902 different types of sandpaper (that may be a guess, but there are a lot!) There are grits as low as 8-grit (which is essentially a few rocks glued onto paper) backing all the way beyond 5,000 grit for very specialized uses like computers and jewelry.
The trick with sandpaper is finding the right progression of grits to get the finish you desire without going overboard. Most sanding jobs require at least two different grits used in succession, and I usually prefer a progression of three grits to get the right surface.
What Grit Sandpaper For…
Learning what grit to start with and which to end with is the key. Each project and material has a recommended grit progression to get the best results so let’s walk through some of the most common jobs around your house and what type of sandpaper you should be using.
Beyond grit selection an important note is that you should not skip more than one grit in your progression. If you start with 40-grit then the next steps would be 60-grit or 80-grit. You cannot skip right to 100-grit. If you don’t follow this rule you will be left with swirl marks and an uneven finish so take it to heart.
Heavy Paint Stripping
The most aggressive sandpaper you’ll usually find without special order is probably 16-grit, which is more than enough the strip anything you need. Decades of old paint (read here about lead safe work methods), flooring adhesive and other glues, and heavy stock removal can all be taken care of very quickly with either 24, 36, or 40 grit sandpaper.
As a restorer of old homes I typically don’t use sandpaper for removing multiple layers of old paint. For that I usually turn to paint scrapers or infrared strippers, but if you prefer sanding then staying in this range of grits will make for quick and effective paint removal. Use the least aggressive grit sandpaper you need that will get the job done effectively so you have less finish sanding to do later.
Prepping Wood for Paint
This depends on the condition of the wood you are working with. Paint does not adhere well to grey weathered wood so it’s imperative to get down to healthy wood before painting. Usually working in a progression of 80 and then 120-grit is the best way to get the surface properly prepped for paint.
Believe it or not, wood fresh from the lumberyard needs to be sanded before painting too. This is because of a phenomenon called “mill glaze“. A piece of wood is said to have mill glaze when the surface is extremely smooth, even to the point of being glossy due to the milling process. This results in a surface that is too slick to allow paint to adhere properly. The best treatment is a light sanding using 120 or 150-grit to remove the shiny surfaces and prepare the wood for painting.
For a painted finish there is no need to go any higher than 120 or at the very most 150-grit. That gives the primer enough “tooth” to grip onto the wood effectively and provide excellent long term adhesion.
Drywall & Spackling
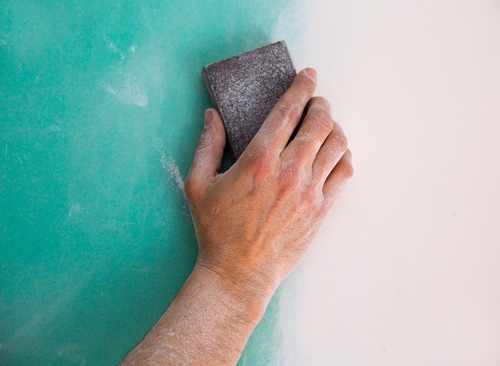
Whether you are installing new drywall or simply patching a wall with spackle the sanding requirements are the same. According to Wallboard Trim & Tool grit selection for sanding drywall effectively depends on whether you are hand sanding or using a power sander. The best grit sandpaper for hand sanding drywall would be to start at 100 or 120-grit for a first pass and then move up to 150 to 180-grit for a final sanding to get everything prime ready.
If you’re sanding with power tools then starting with a finer grit will allow the power tool to do its work more effectively. In this case, you should start with a 150 to 180-grit sandpaper and finish with a 220-grit to get a nice level finish.
Refinishing Hardwood Floors
For years the standard for refinishing hardwood floors has been a progression of 36, 60, and 80-grit sandpaper or in some cases 40, 60, 100-grit sandpaper depending largely on the refinisher’s preference and the condition of the hardwood floors.
This may seem like a low grit to finish with, but after applying three coats of polyurethane and scuffing between coats (covered more below) this provides a very strong bond and a smooth finish.
Previously Painted Surfaces
Walls, trim, baseboards, casing, cabinets and other items are often refreshed with a couple coats of paint from time to time. For matte surfaces there isn’t really any sanding that needs to occur, just a good cleaning, but for shiny surfaces like semi-gloss or high-gloss paint, a light sanding with 180 to 220-grit paper is imperative for a good paint job that won’t peel. Lightly scuff the surface until any shine is gone and you have a matte surface then you’re ready to go.
Primed Surfaces
For wood or metal that has recently been primed, one pass using a fine sanding sponge or 150 to 220-grit sandpaper to knock down any rough spots and any raised grain will get you a super smooth surface ready for painting.
It doesn’t take much sanding after priming, just go lightly and don’t sand the primer away. Make sure any sanding dust is cleaned off before you go to apply your finish coats of paint.
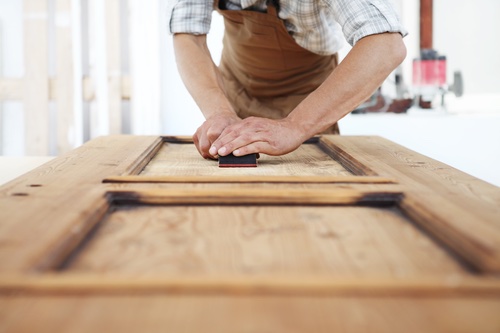
Preparing Wood for Stain/Varnish
A general rule for the use of sandpaper is as follows – the finer the sandpaper used, the lighter the stain color will be. That’s because the finer the grit you use, the less open the wood’s pores are and the less readily they will accept stain.
Keep that in mind when preparing any project for staining. Also, stained wood is especially prone to showing sanding marks if you aren’t careful. Work through a progression of 80, 120, and 180-grit to prepare the wood, but take extra care to make sure each progressive sanding doesn’t miss any pieces, or else they will show clear swirl and scratch marks.
With that in mind I have typically followed General Finishes recommendations of 120 to 220-grit sandpaper for fine finishing. Anything higher than that and you will begin to have problems with stain color and penetration. You can dive deeper on this topic in my previous post How To: Prep Wood For Stain.
Recently, I have begun switching from random orbit sanders to a SurfPrep sanding system for any stained finishes I’m hired to do at my company and that switch has made a huge difference. I’m better able to avoid swirl marks and get a more consistent finish. It’s really been a game changer for us!
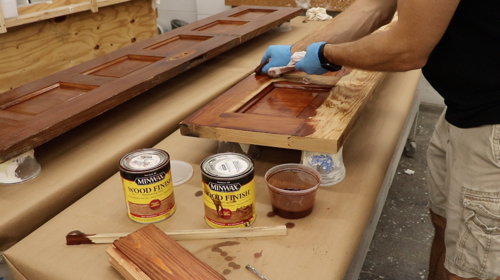
Between Coats of Varnish
Between coats of varnish it’s almost always a good idea to sand. Polyurethane and varnish create a super smooth surface that will not allow for good bonding of the next coat unless they are sanded lightly.
220-grit is the industry standard for sanding between coats of polyurethane but a fine sanding sponge works equally well. Just make sure to allow ample drying time before sanding. If the polyurethane isn’t creating a little dust then it’s too early to sand and it needs more time to dry.
I normally don’t sand between coats of latex paint, but sometimes for high or semi-gloss oil-based paints, a light sanding at 220-grit provides good insurance against peeling and creates a super smooth surface.
Finish the Job
Choosing what grit sandpaper you should use is only the first step in finishing a project. Hopefully, this post will get you pointed in the right direction to choosing the right grit sandpaper and you can be better prepared for actually finishing the project the way you want. Happy sanding!


Founder & Editor-in-Chief
I love old houses, working with my hands, and teaching others the excitment of doing it yourself! Everything is teachable if you only give it the chance.